blind baking

Fresh Pear & Almond Cream Tart

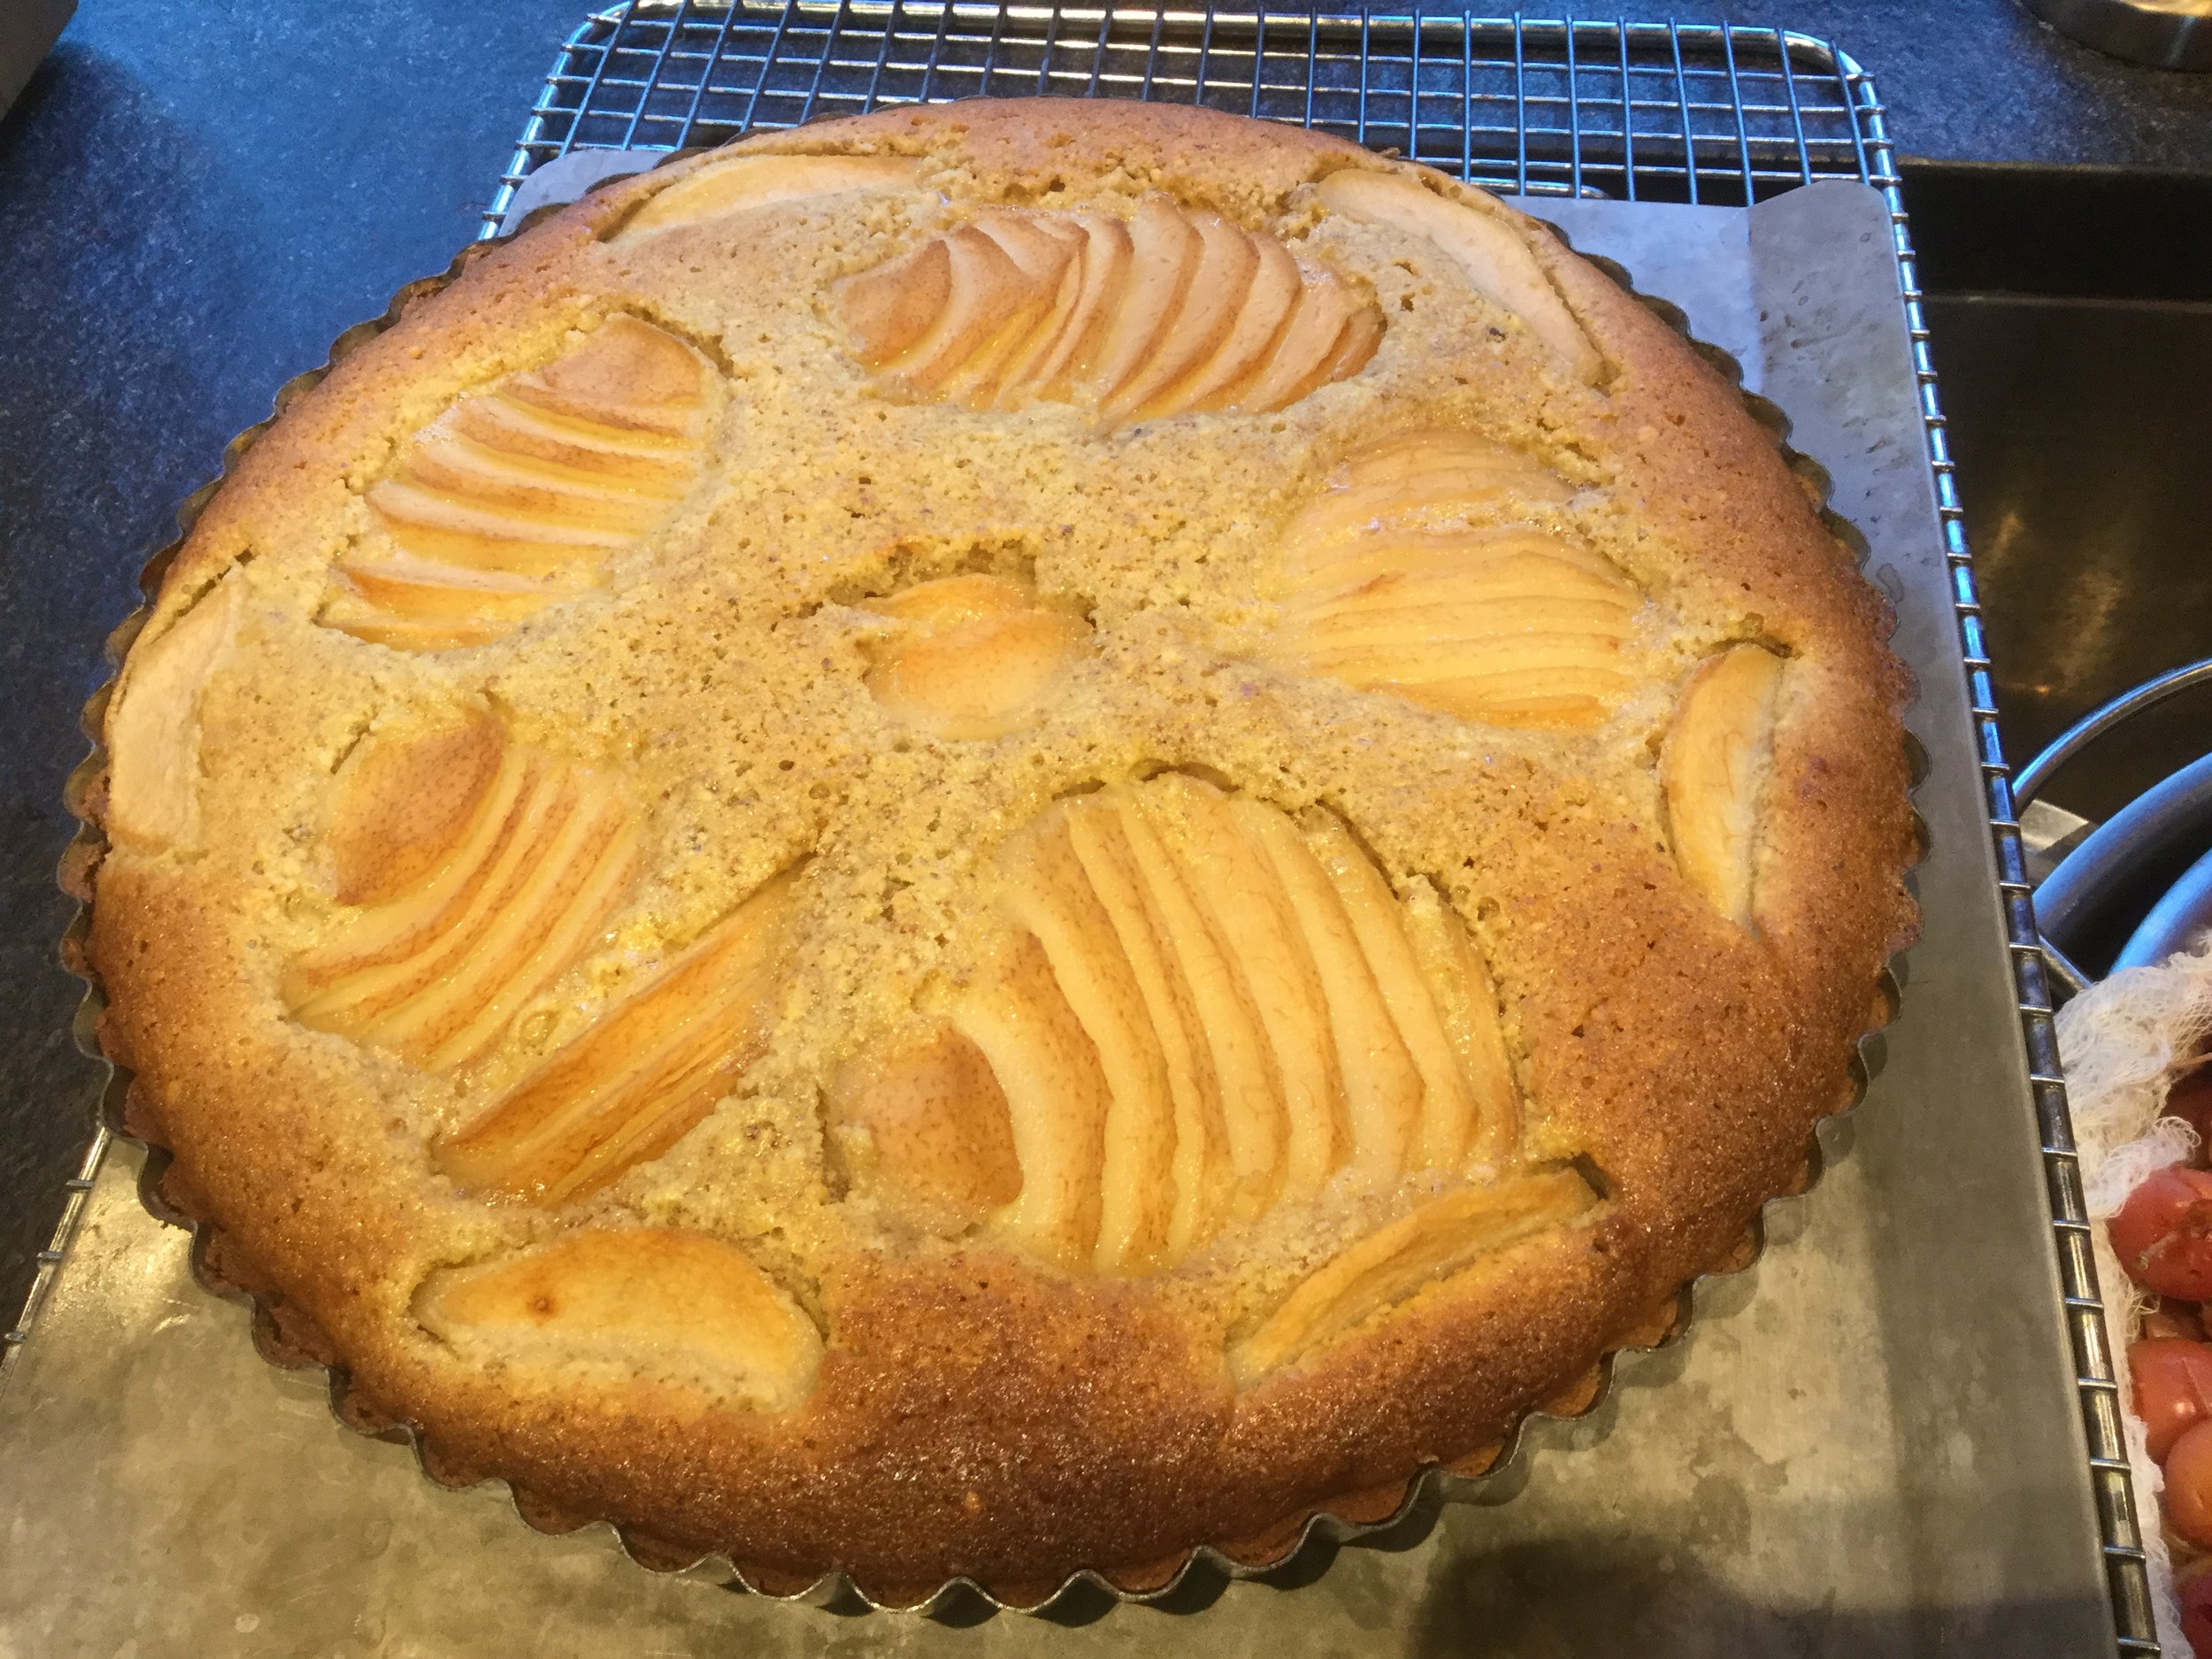
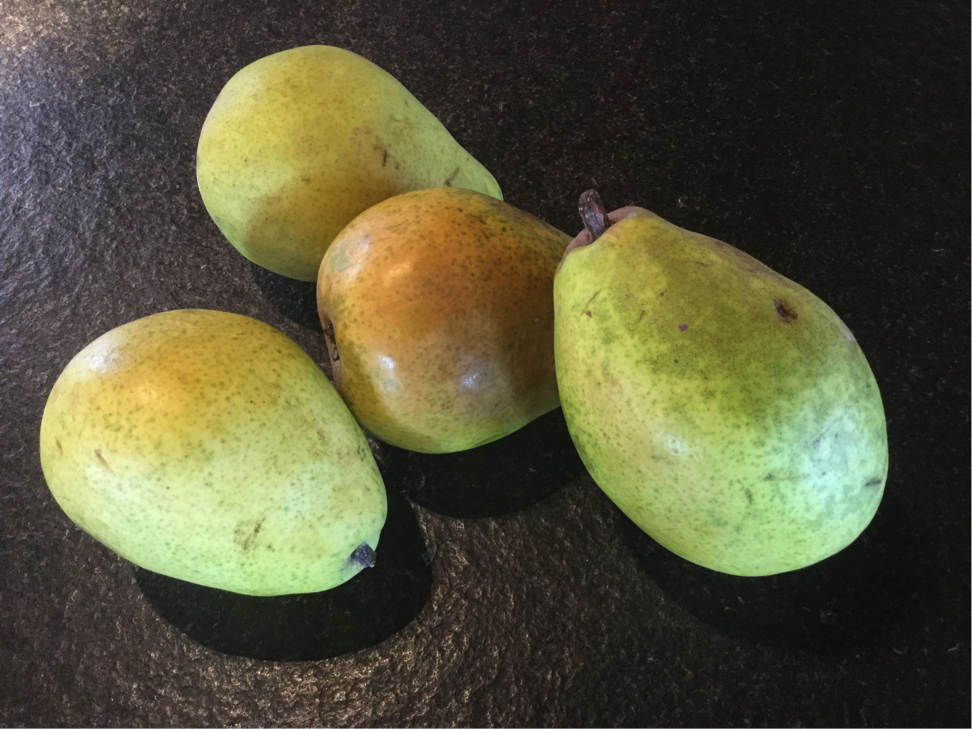
We bought some beautiful organic pears the other day and I have been waiting for them to get to the perfect point of ripeness to make this tart.  This is a good example of a tart with a blind baked crust and a gently sweet, seasonal filling.  It is easy to make and luscious served all by itself, still warm from the oven or at room temperature.  Virtually any fruit can be substituted for the pear – cherries, peaches, plums, apples, nectarines are all good.  But pear is my favorite!

Fresh Pears

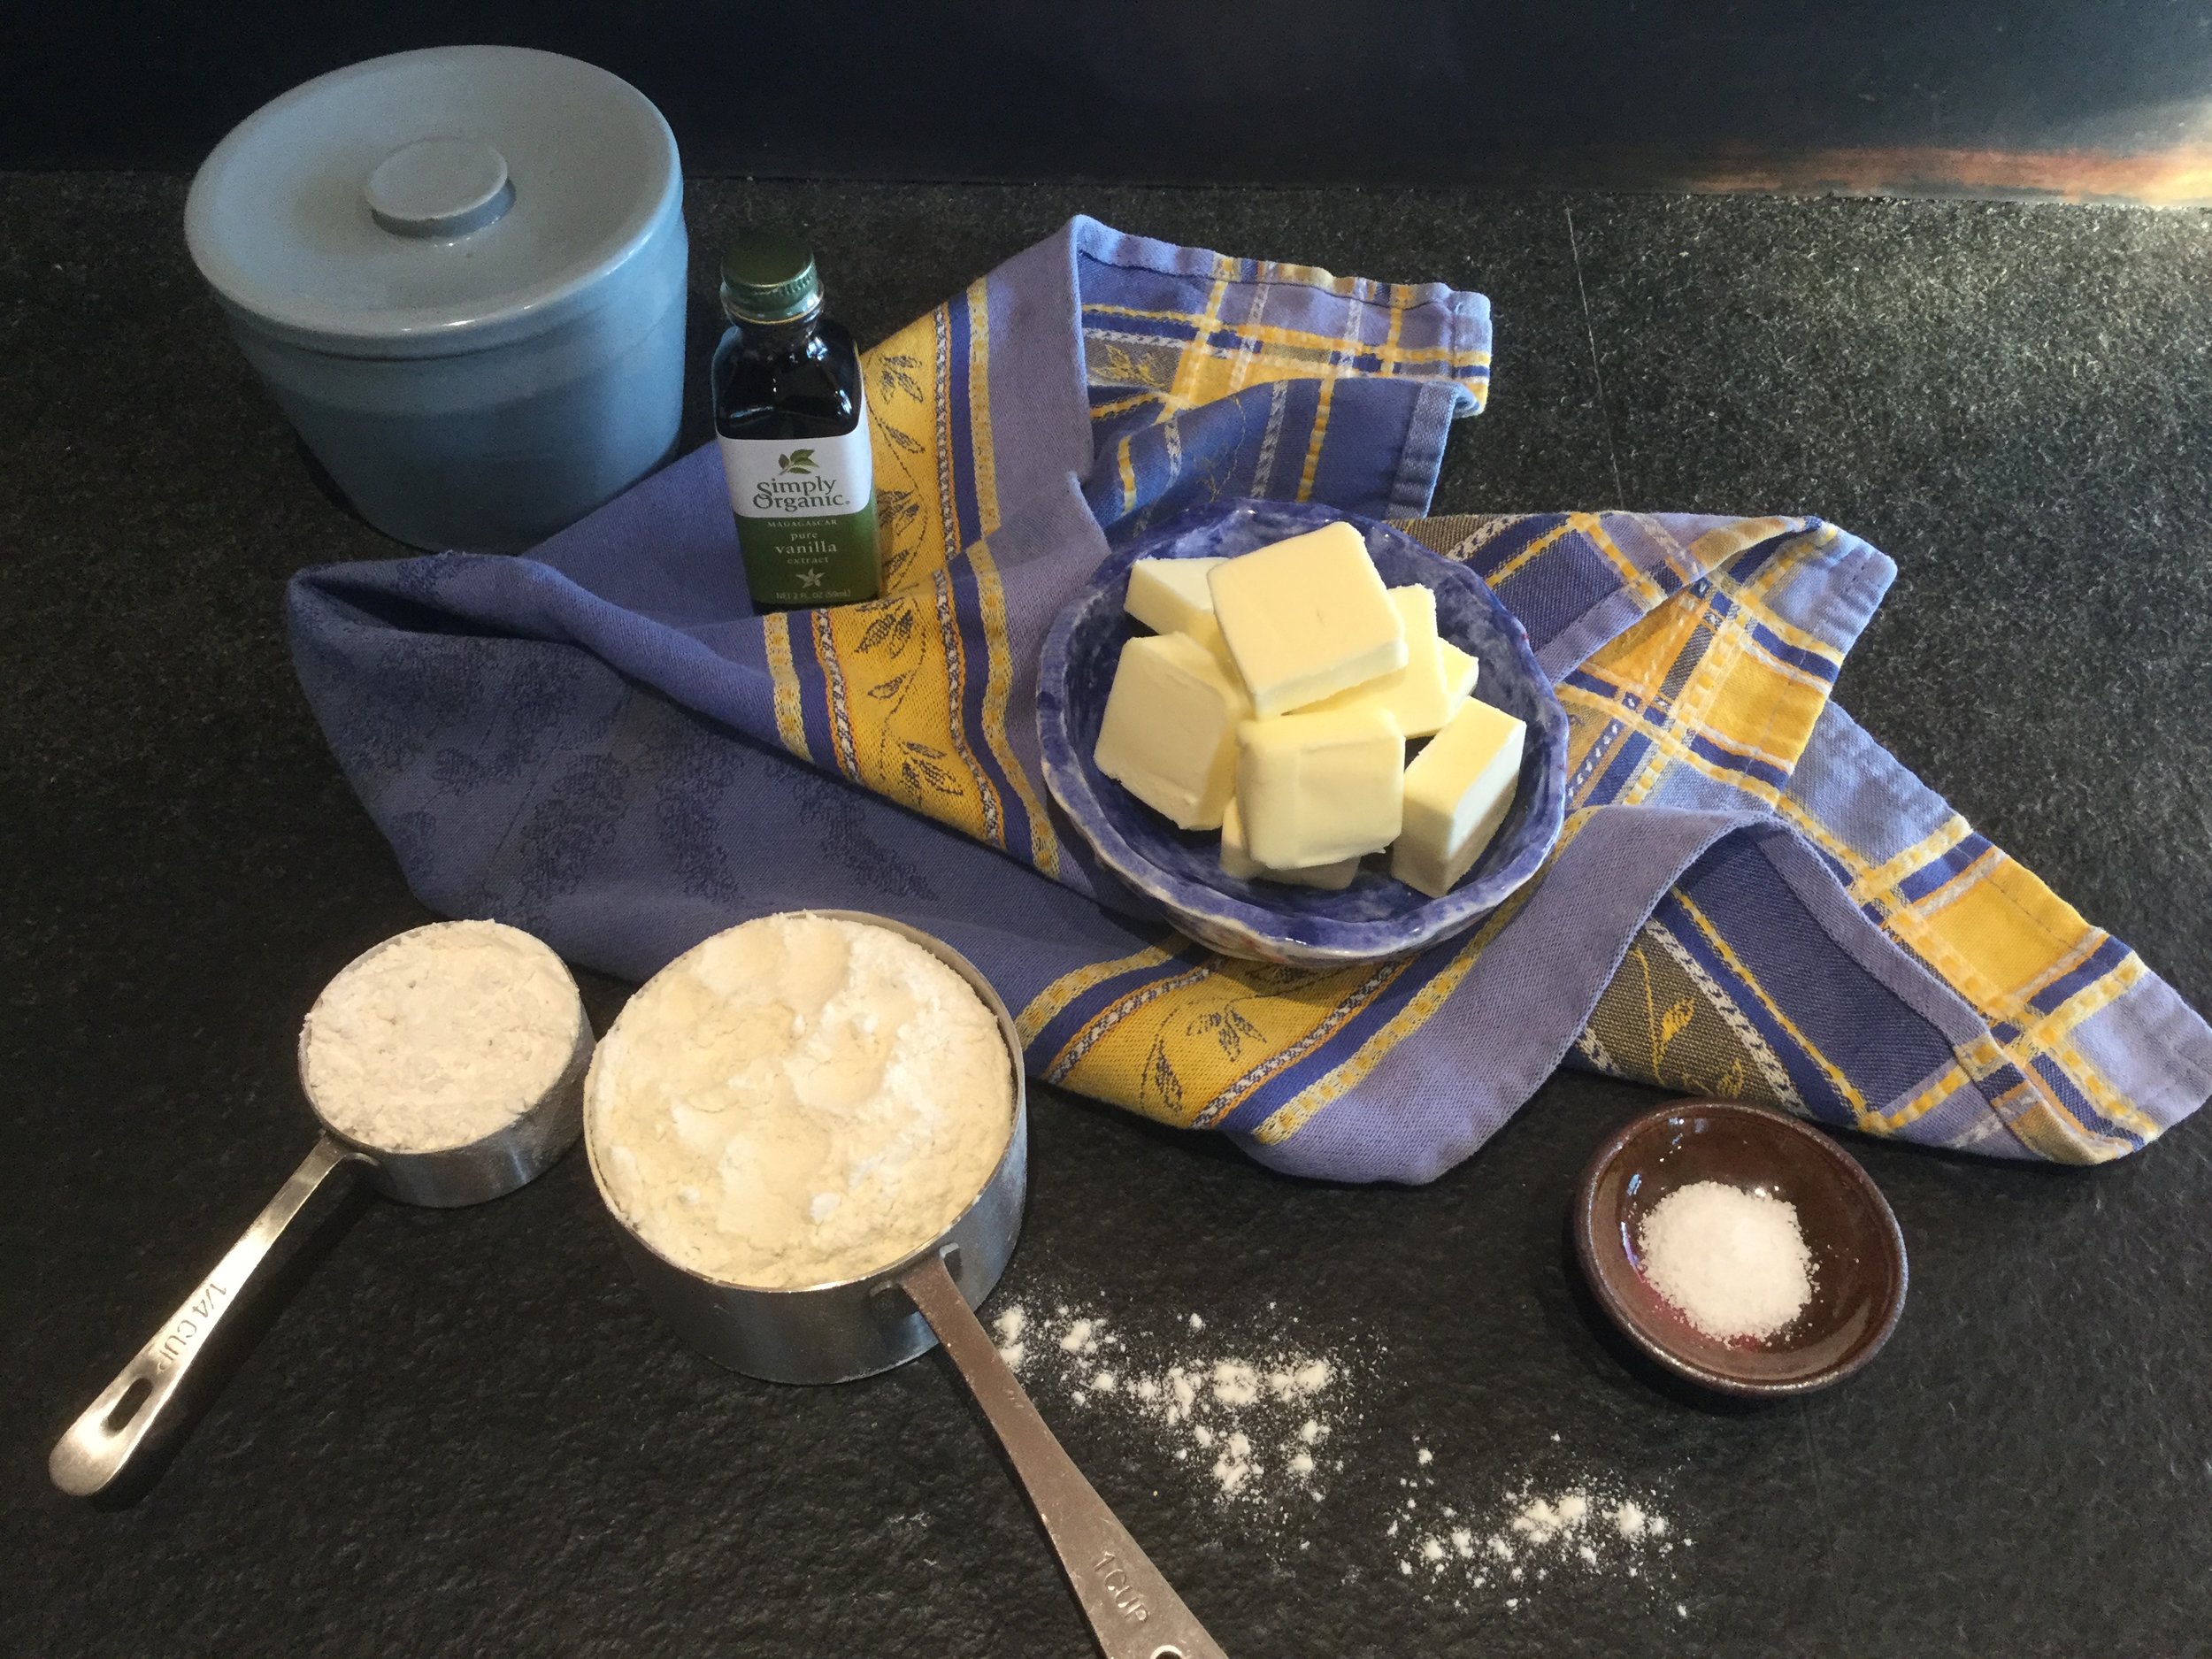
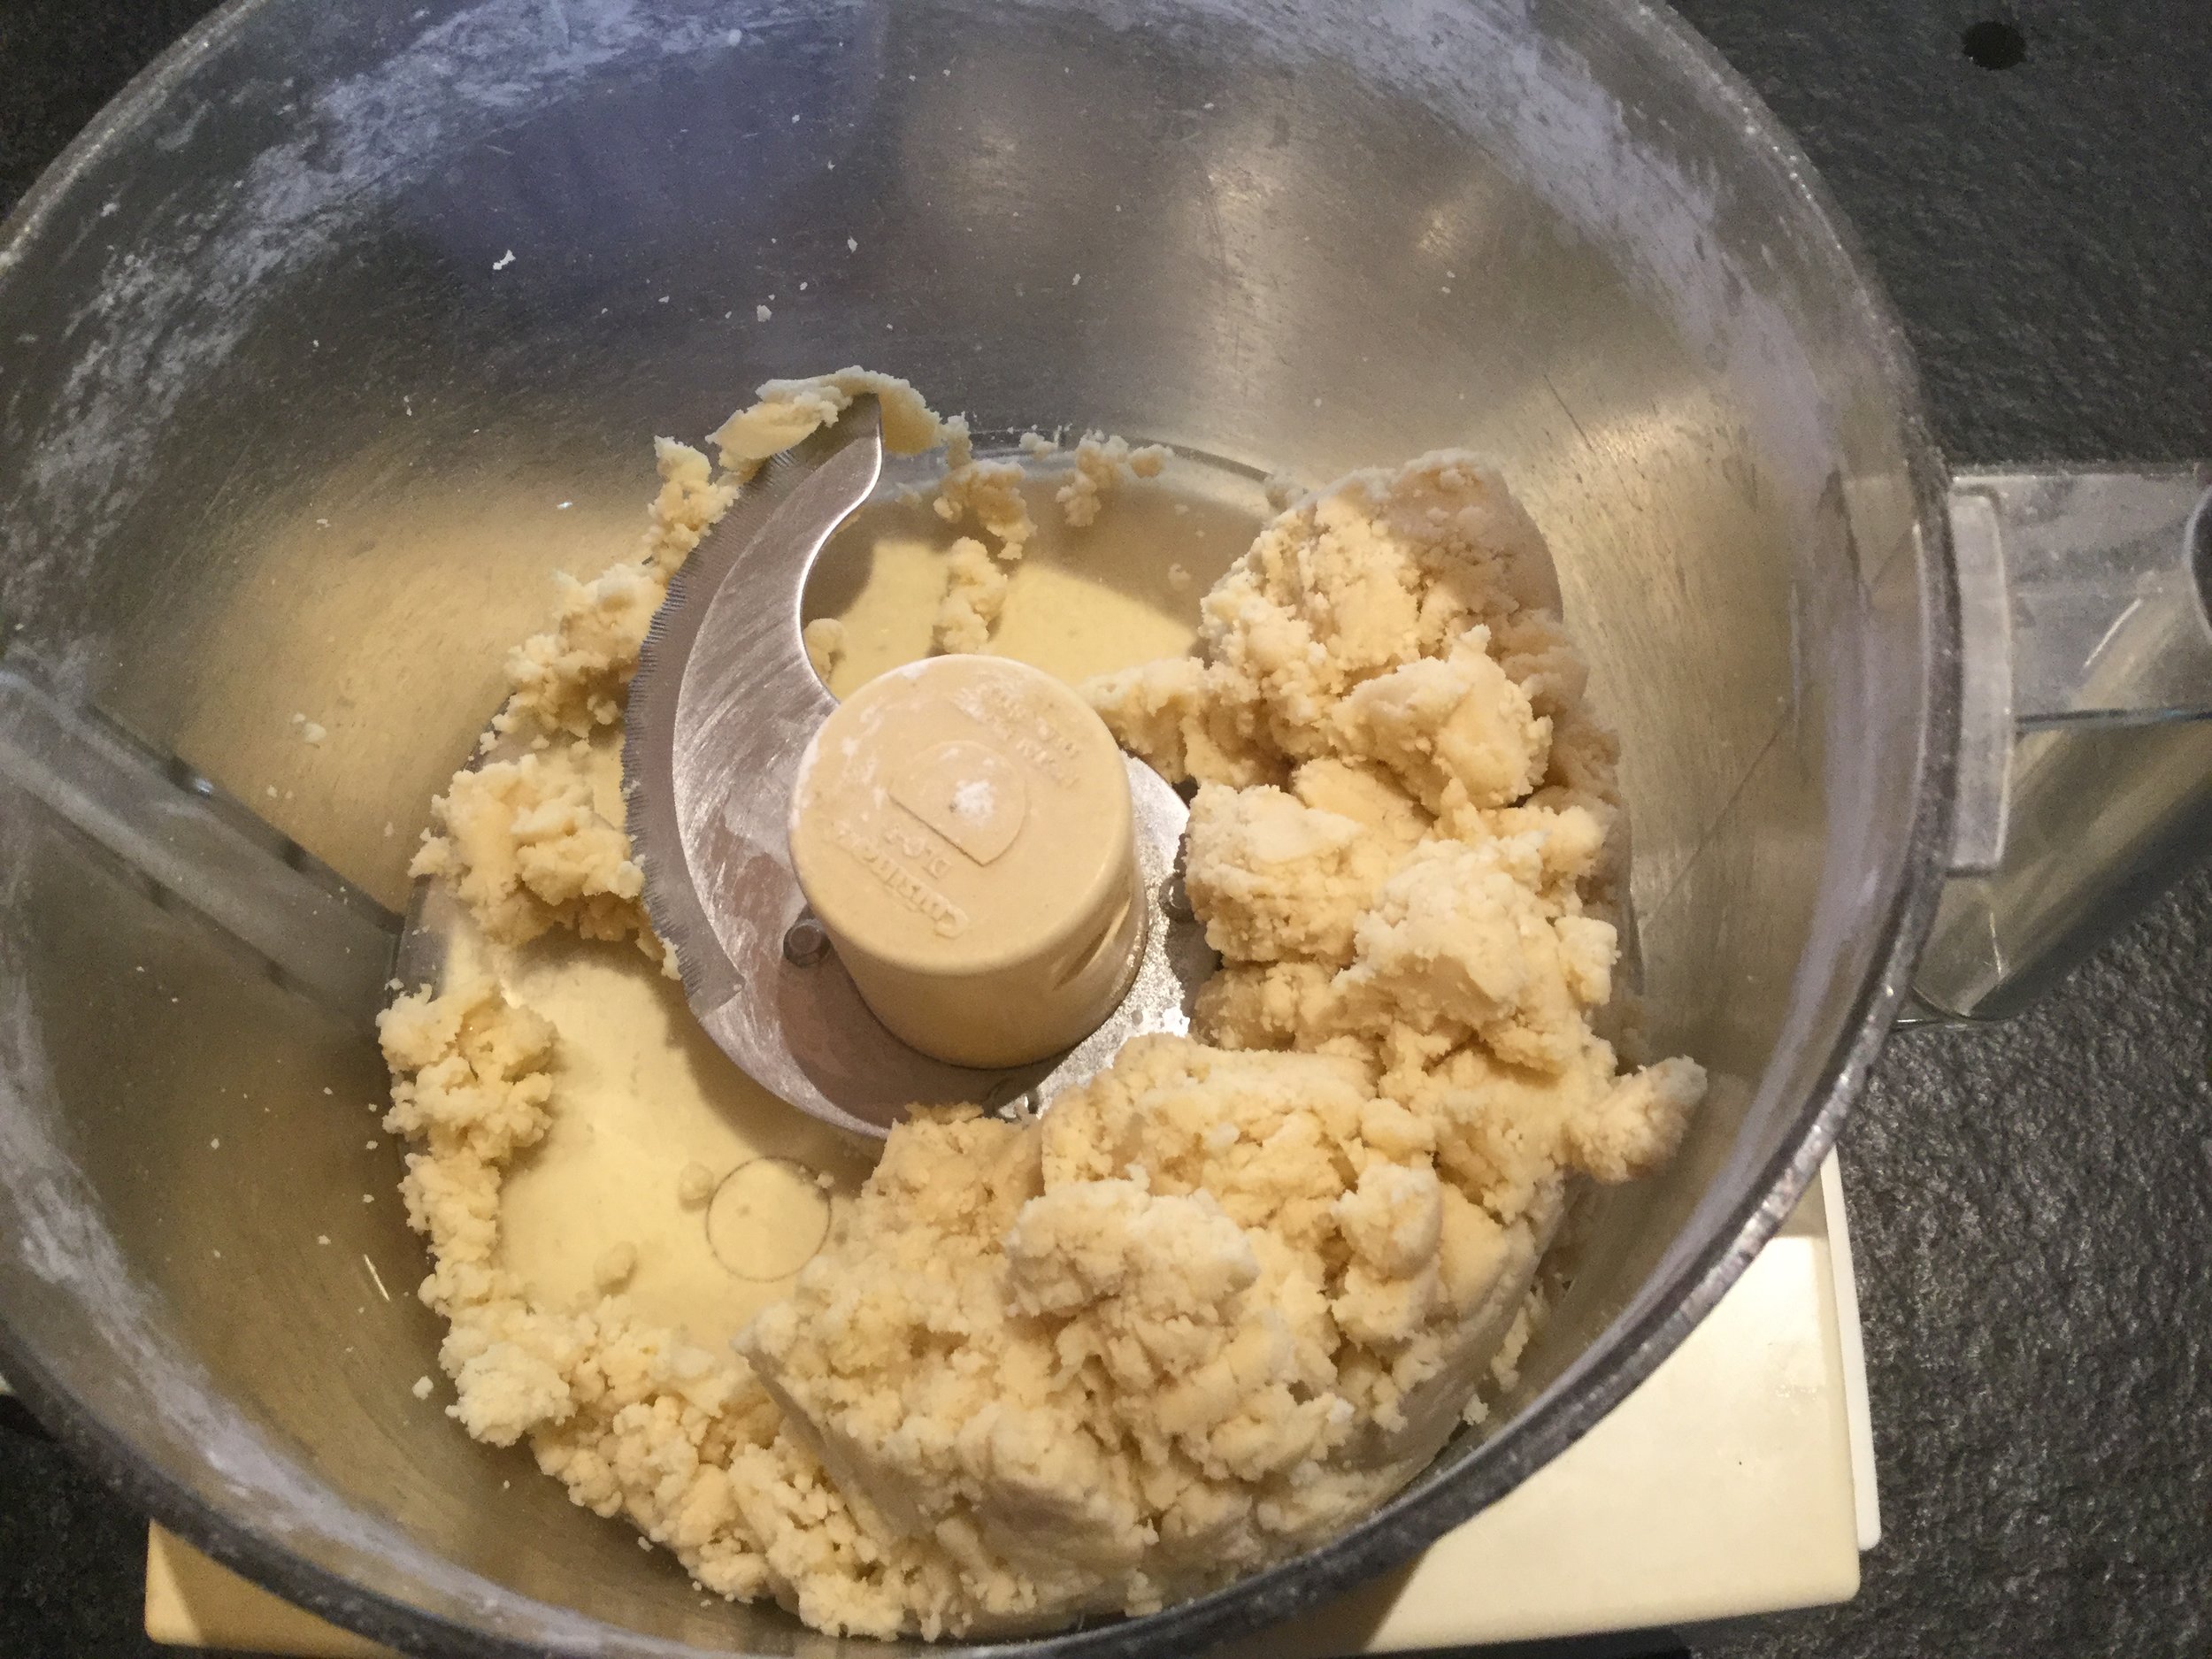
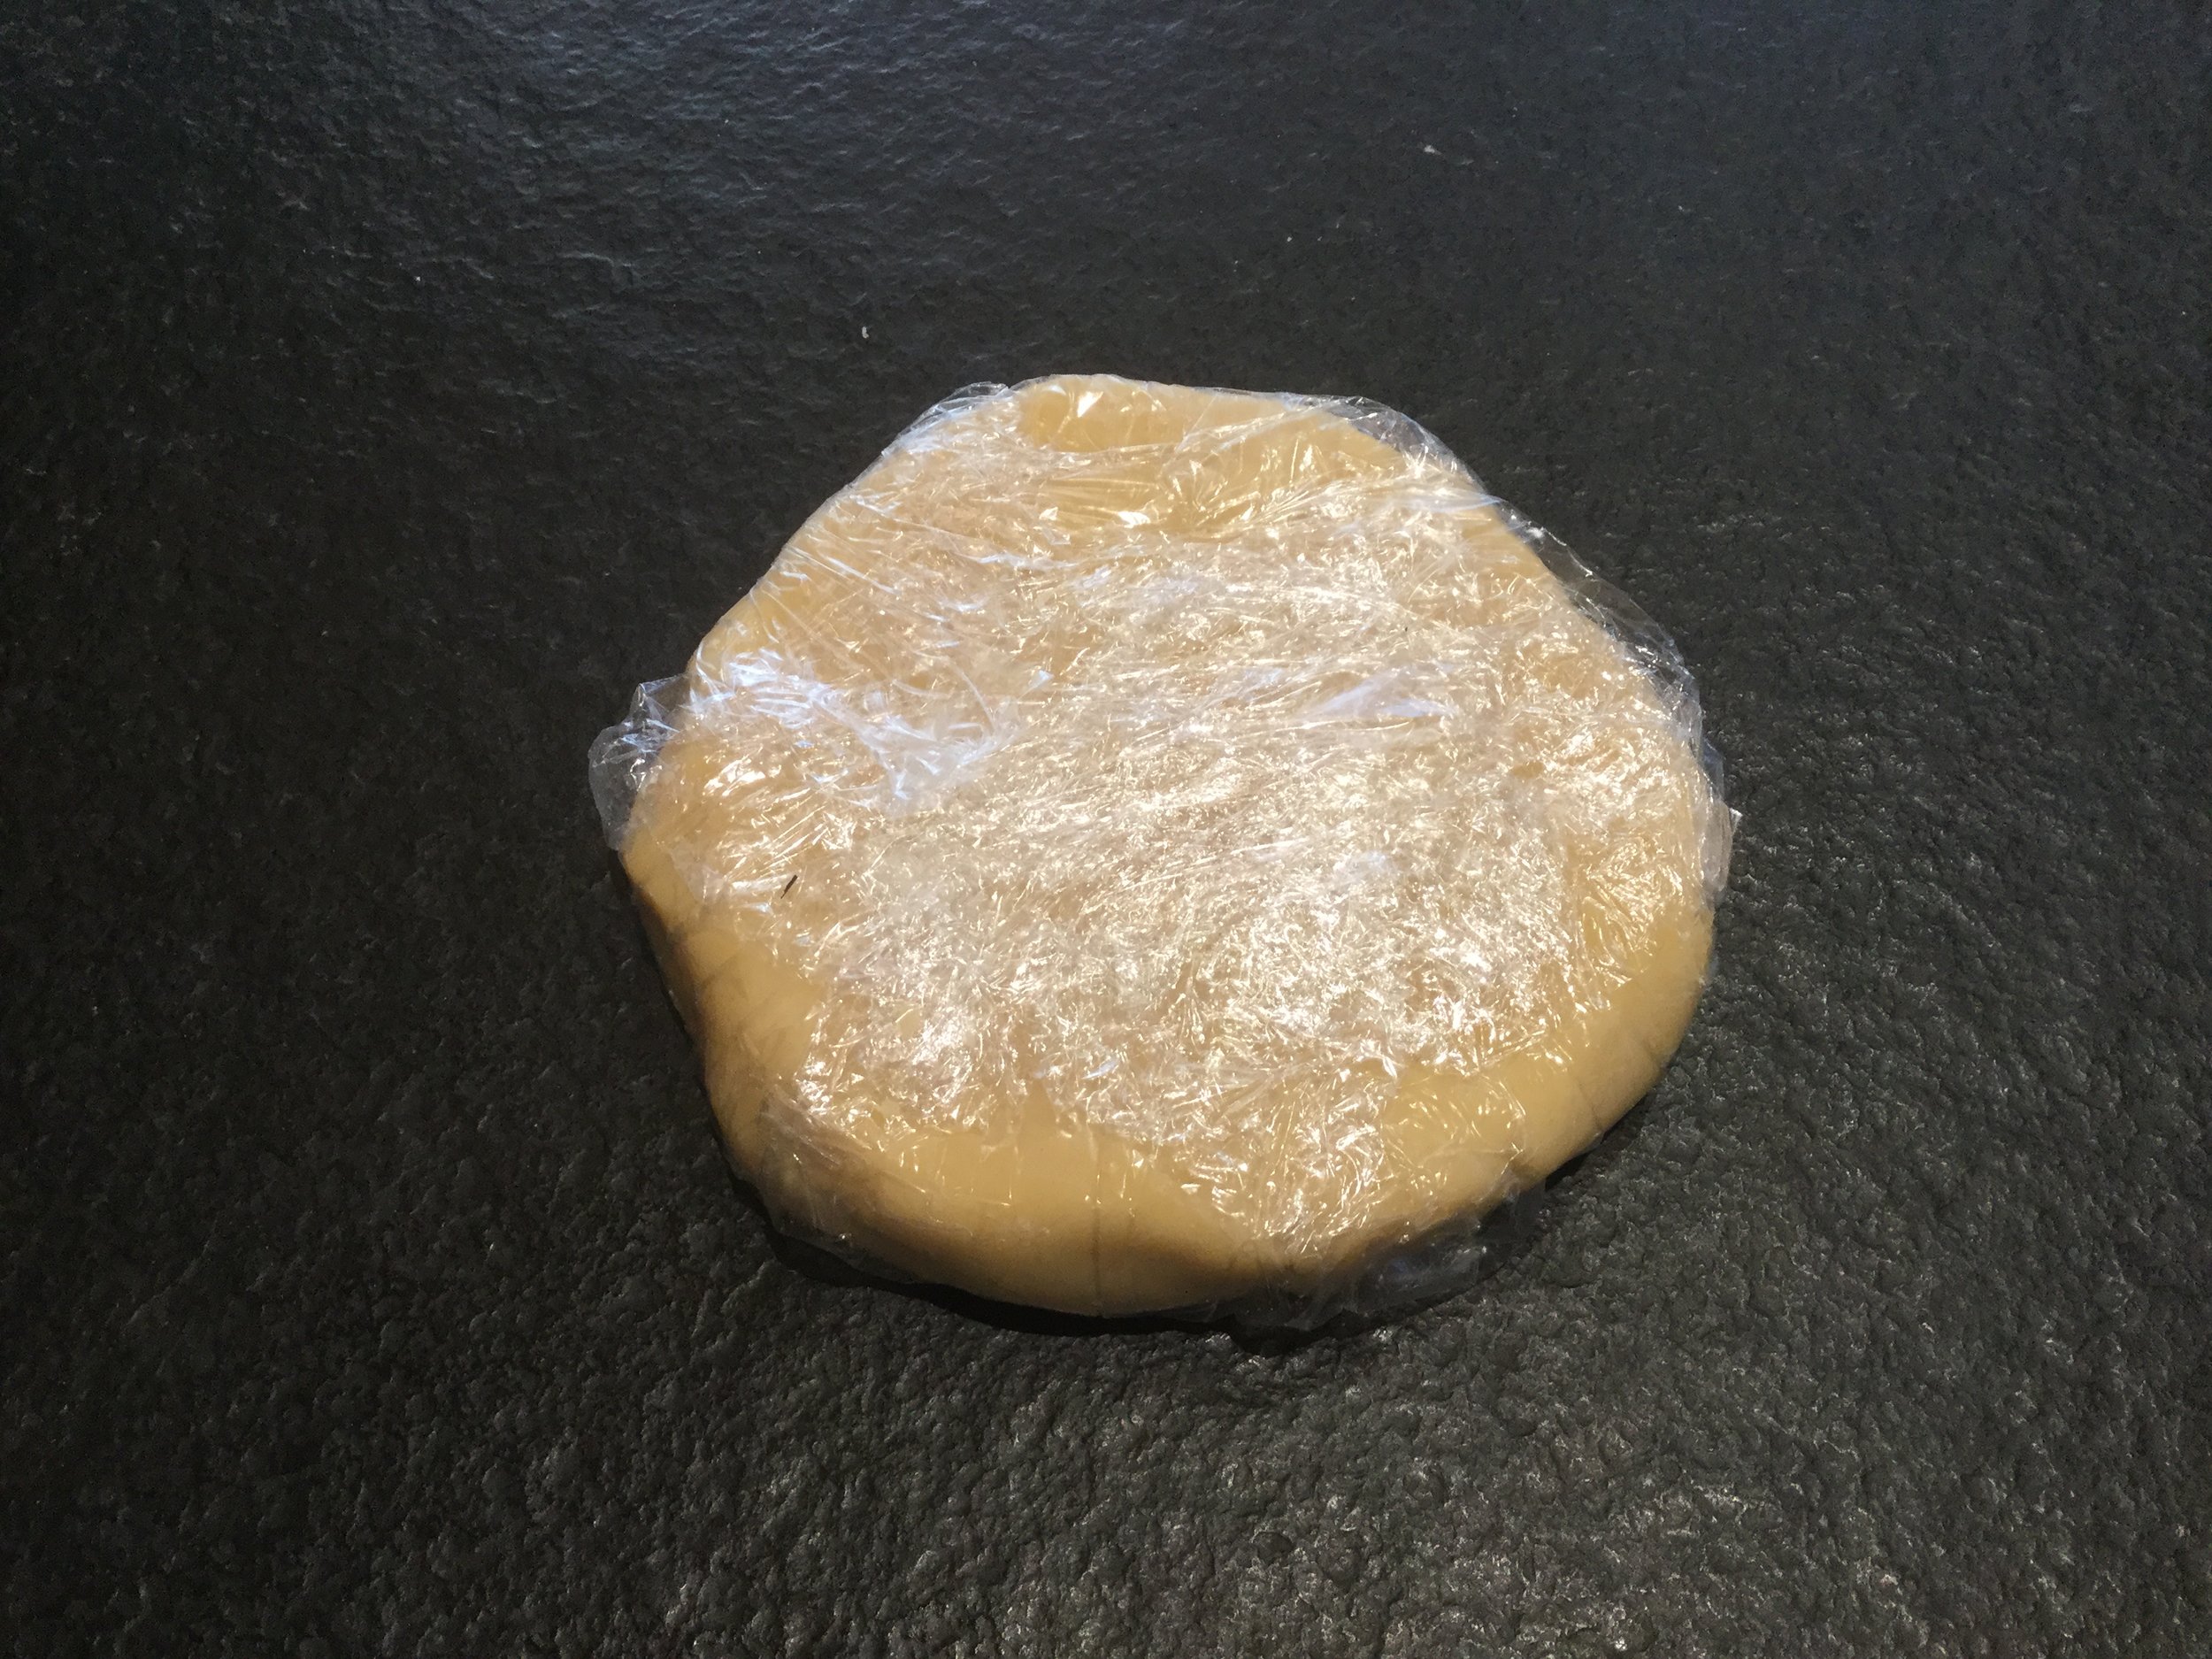
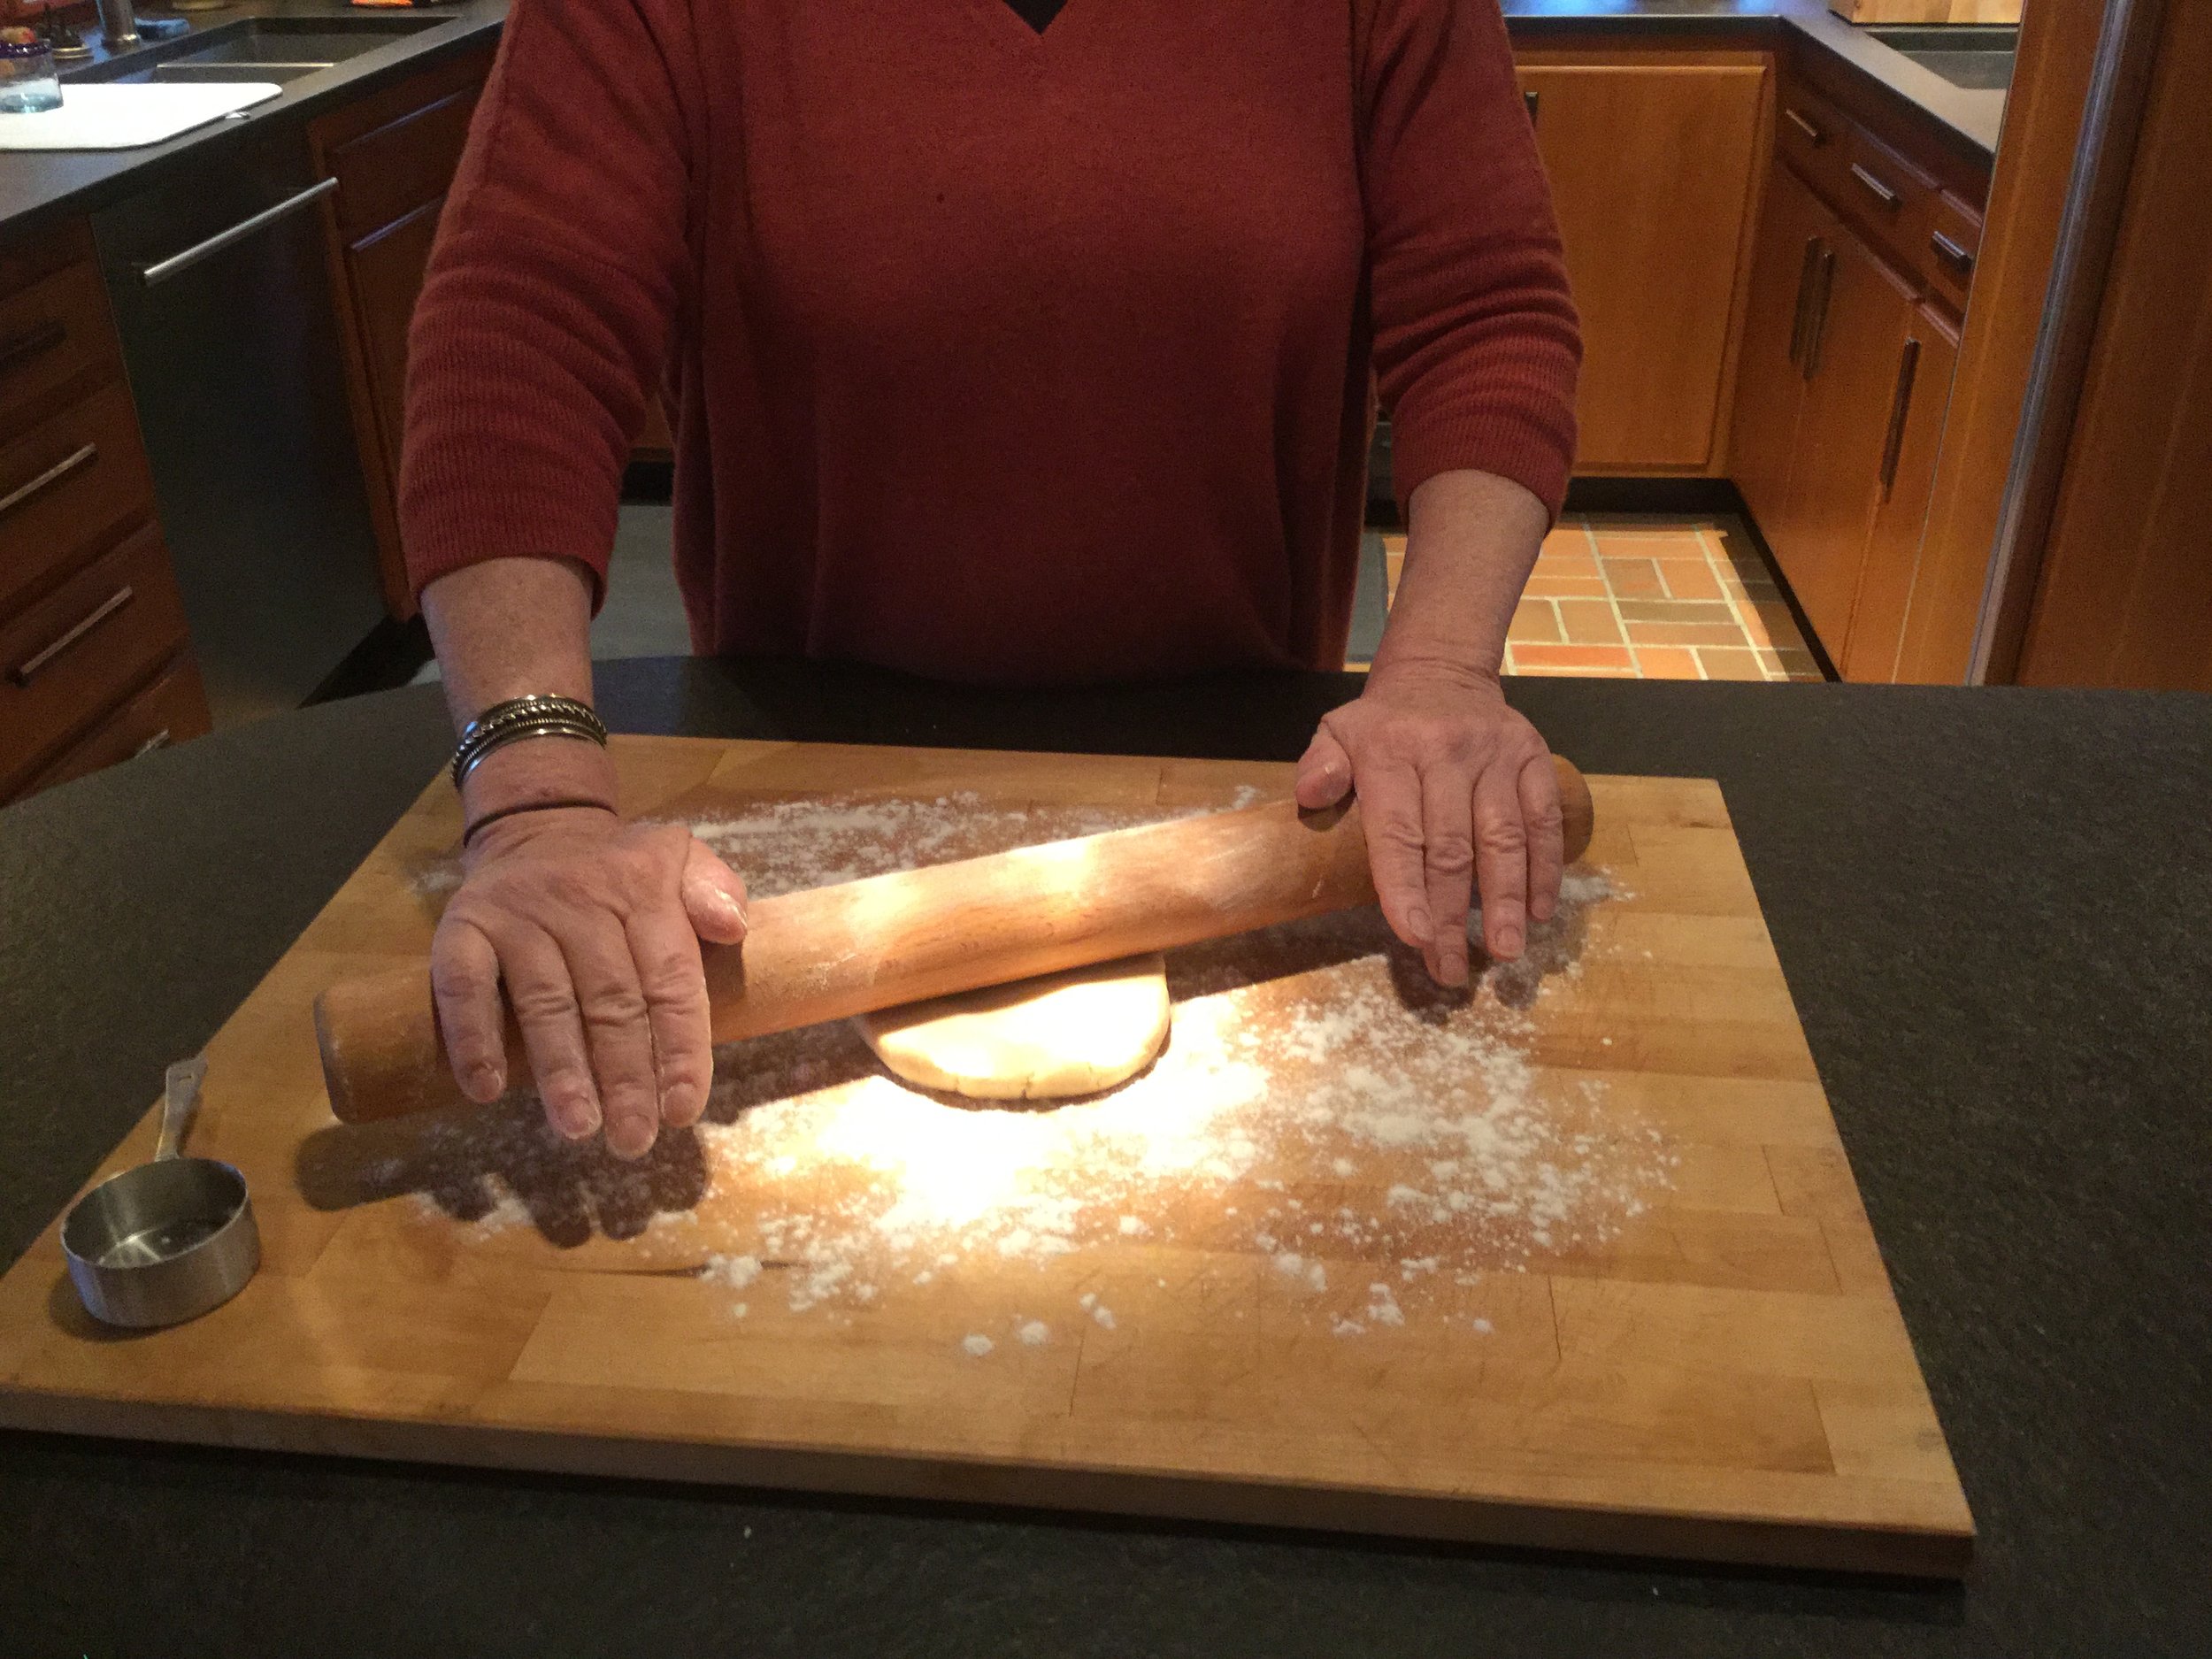
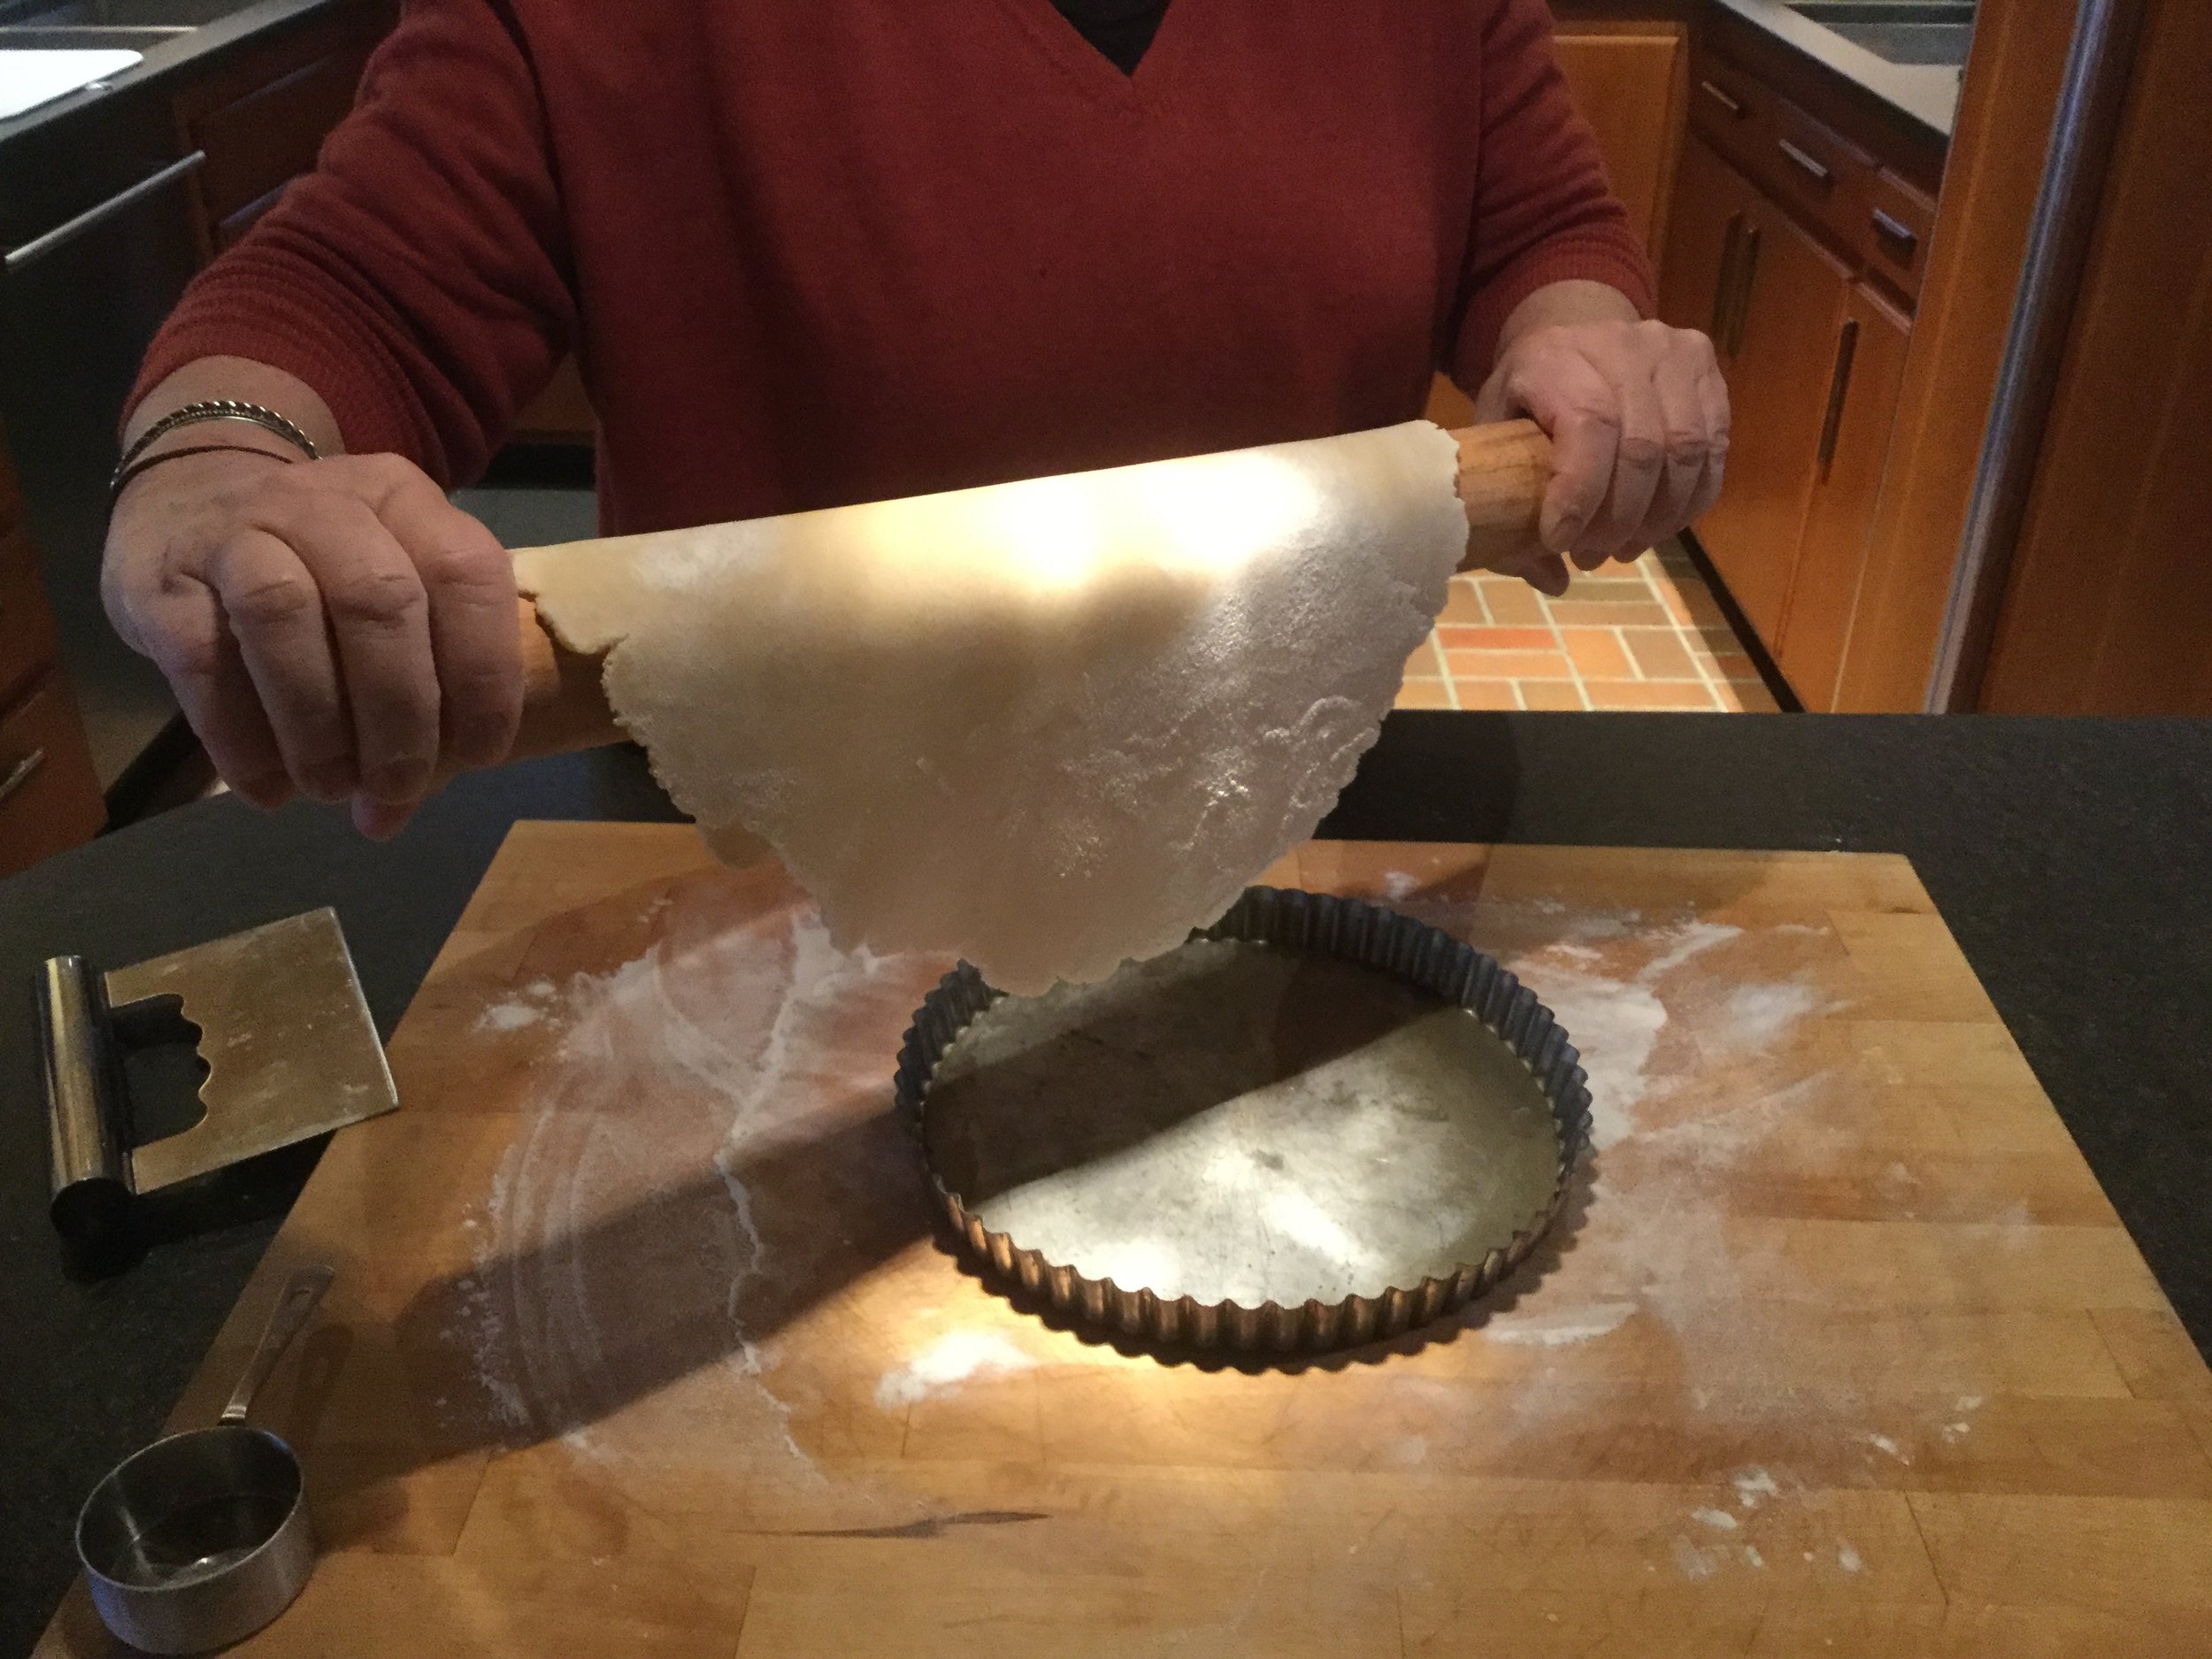
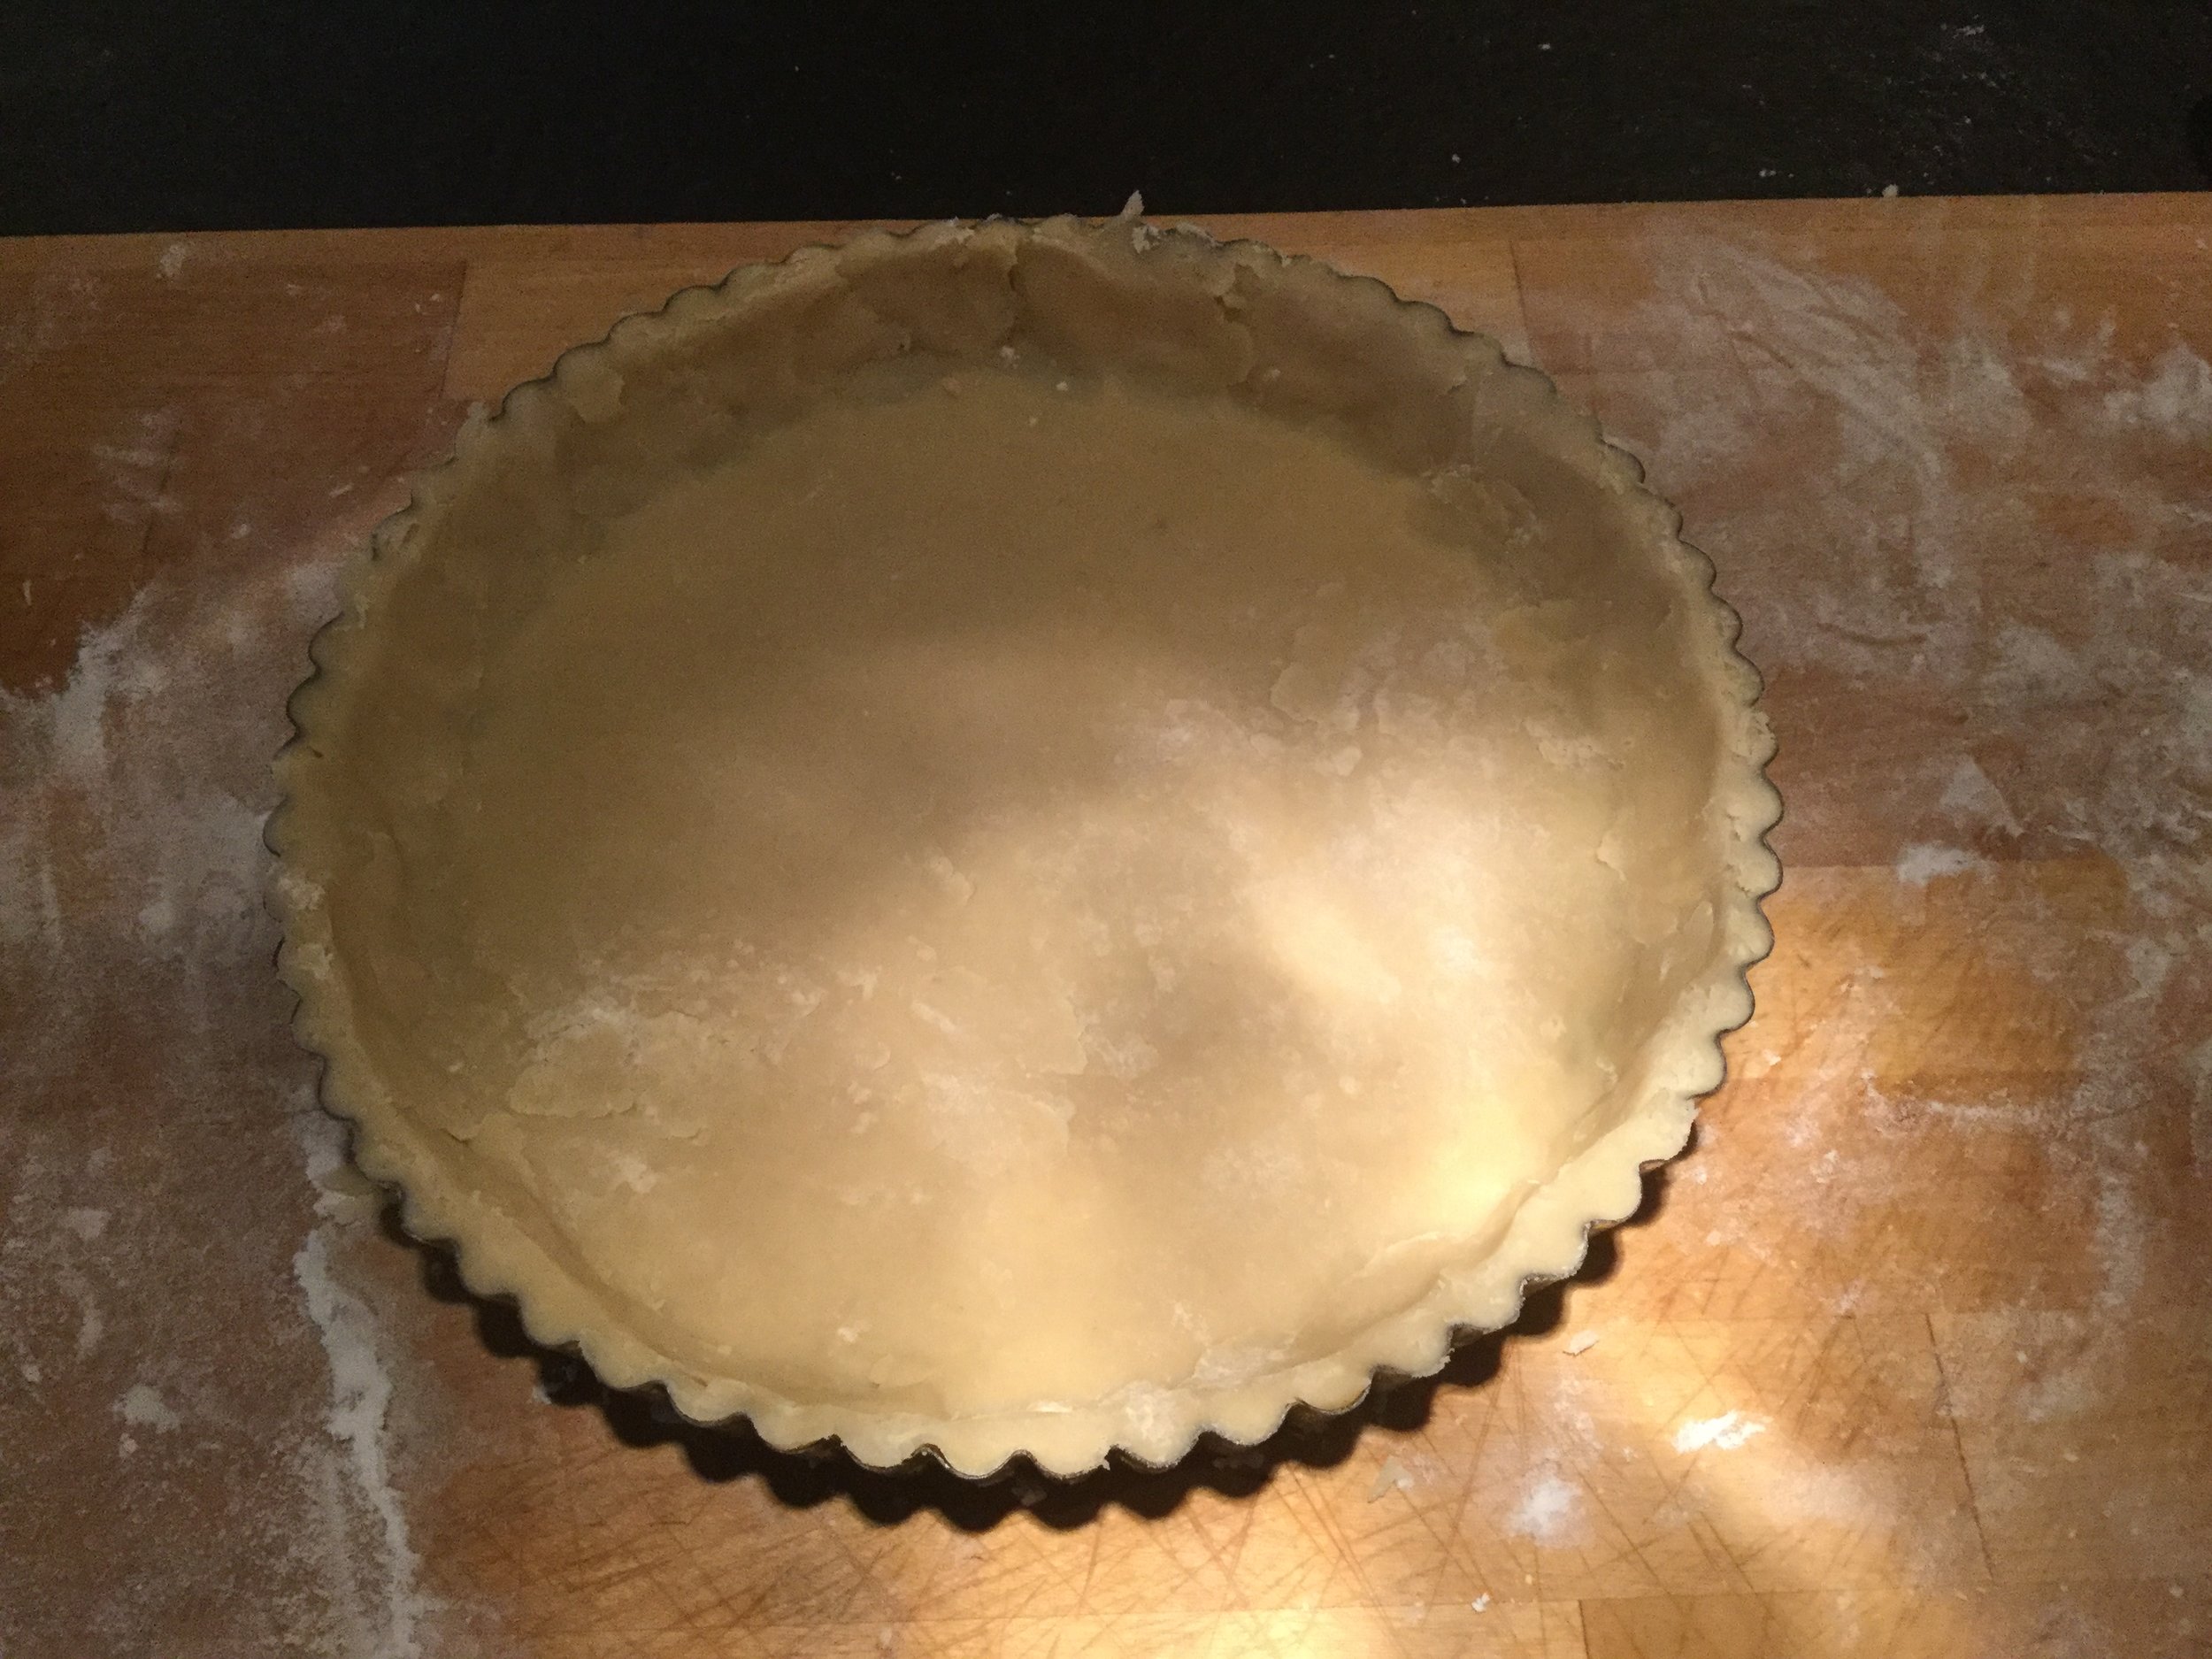
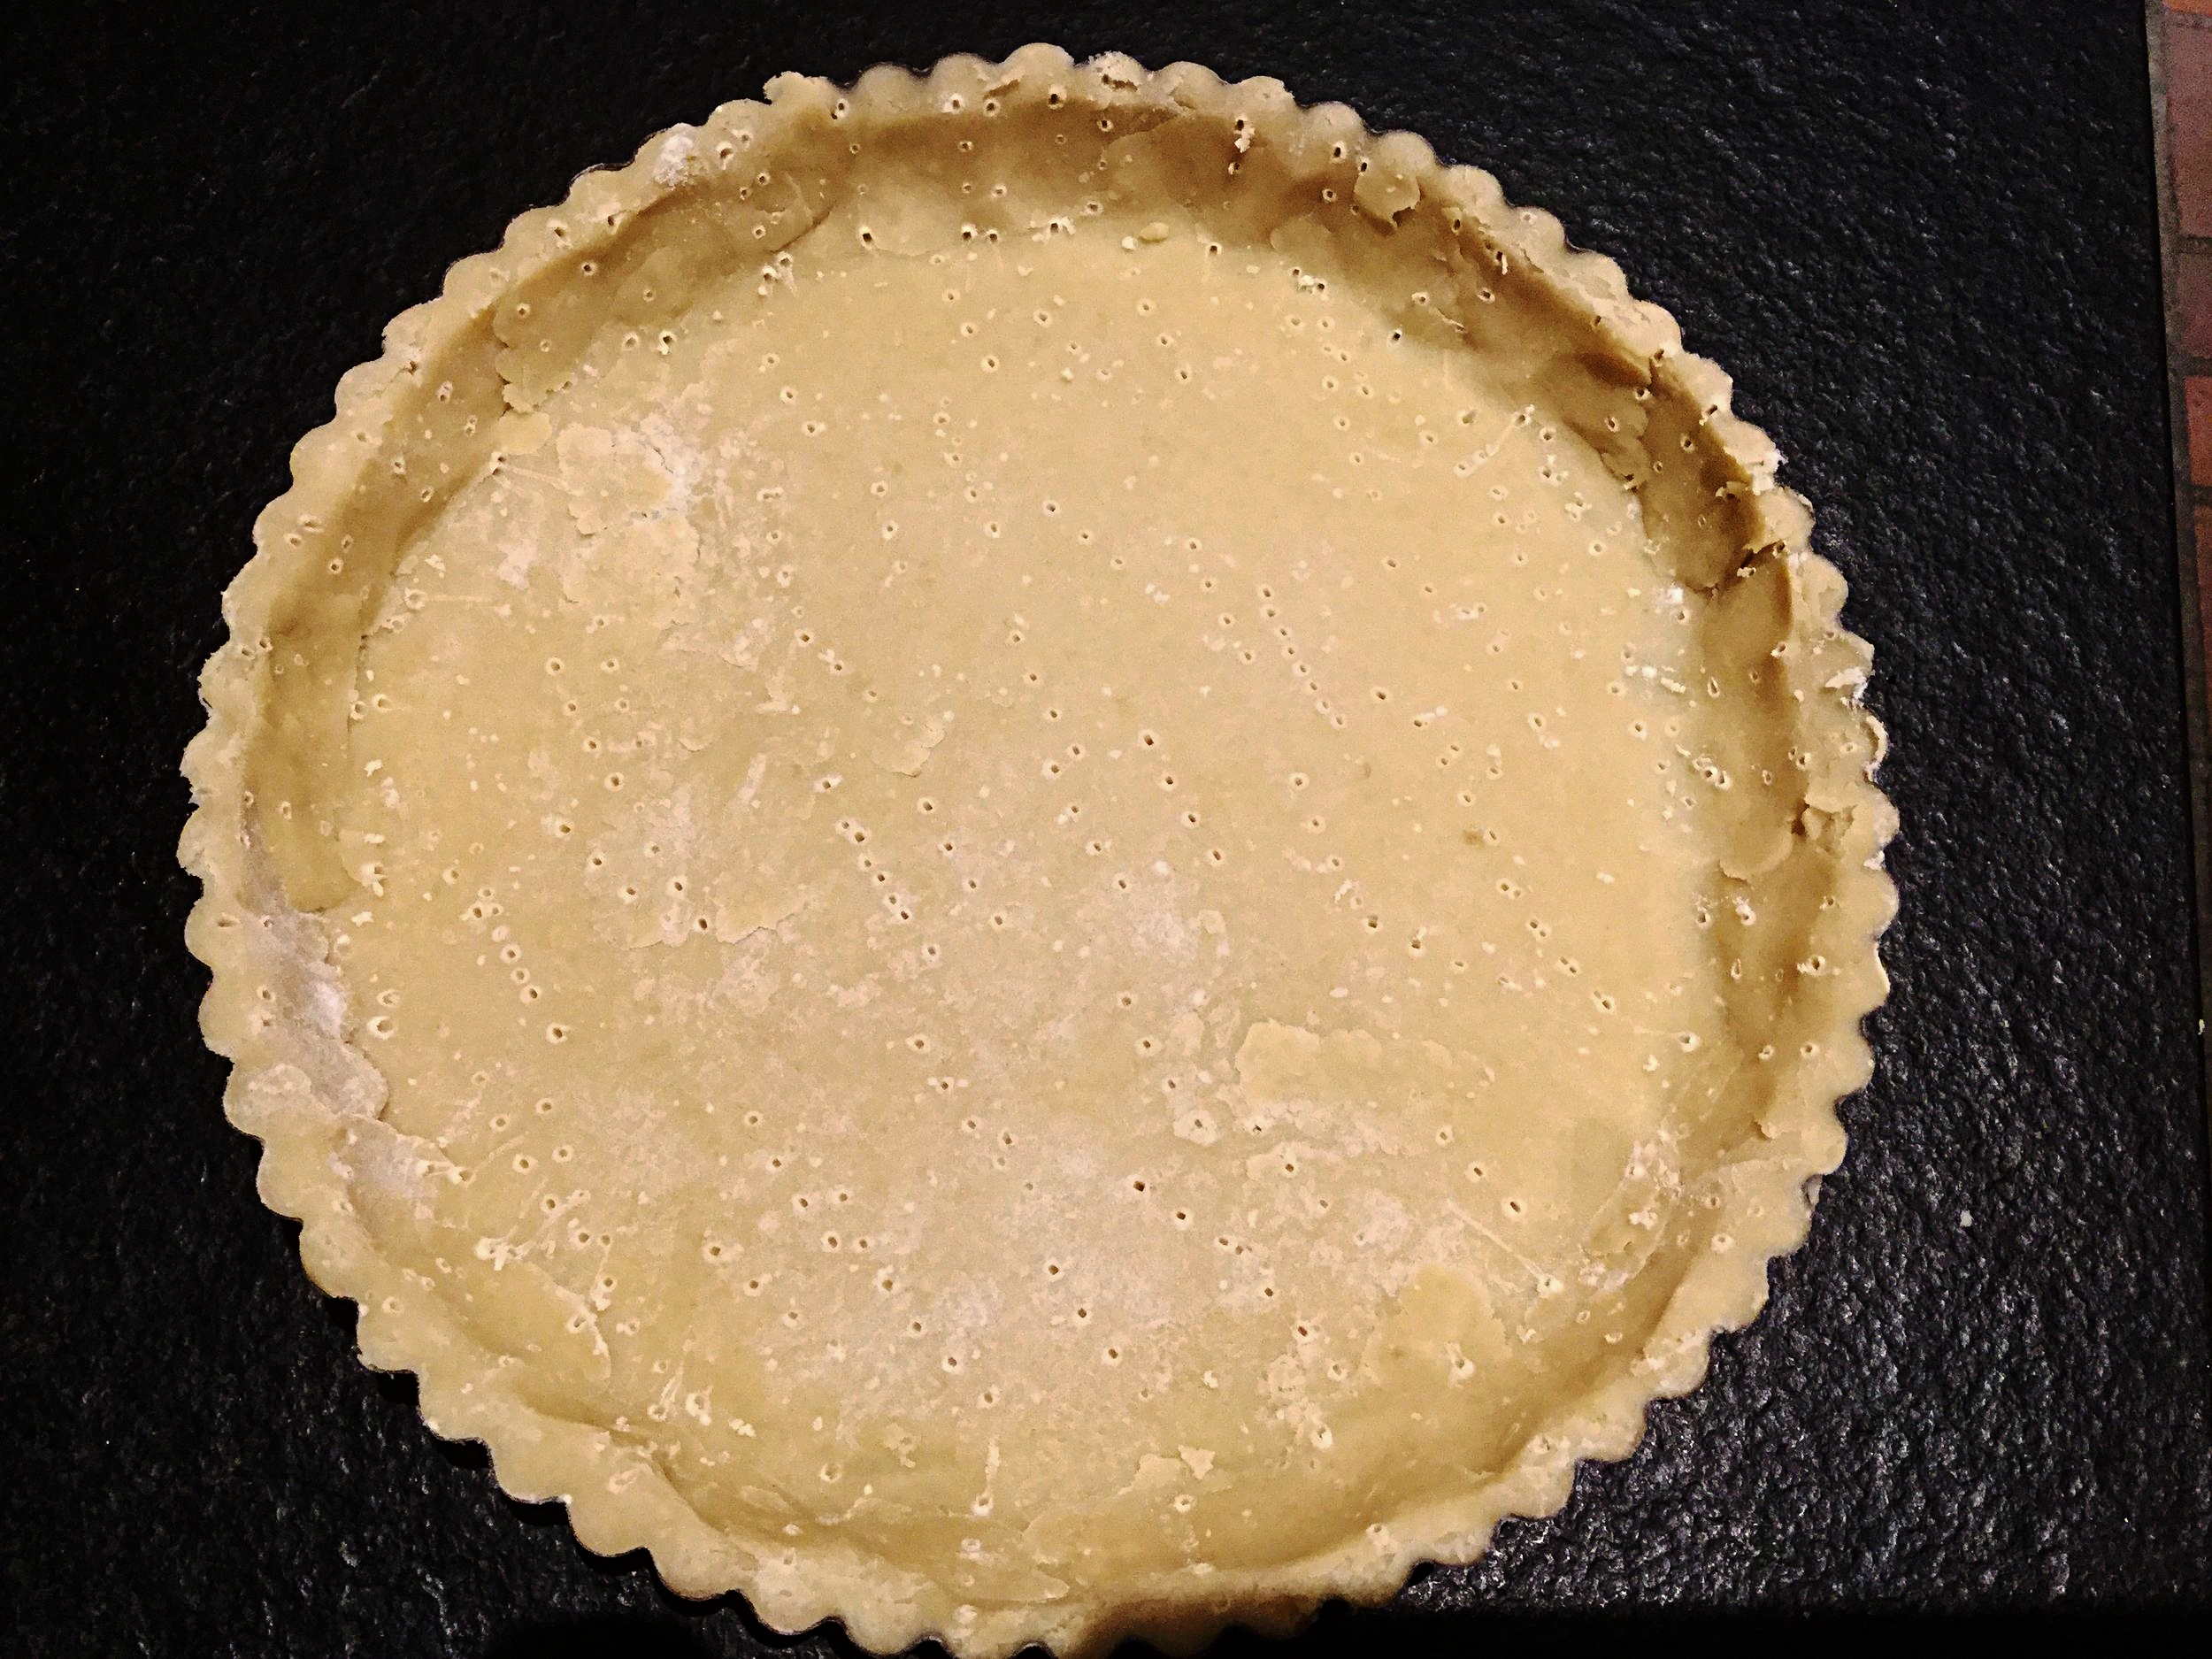
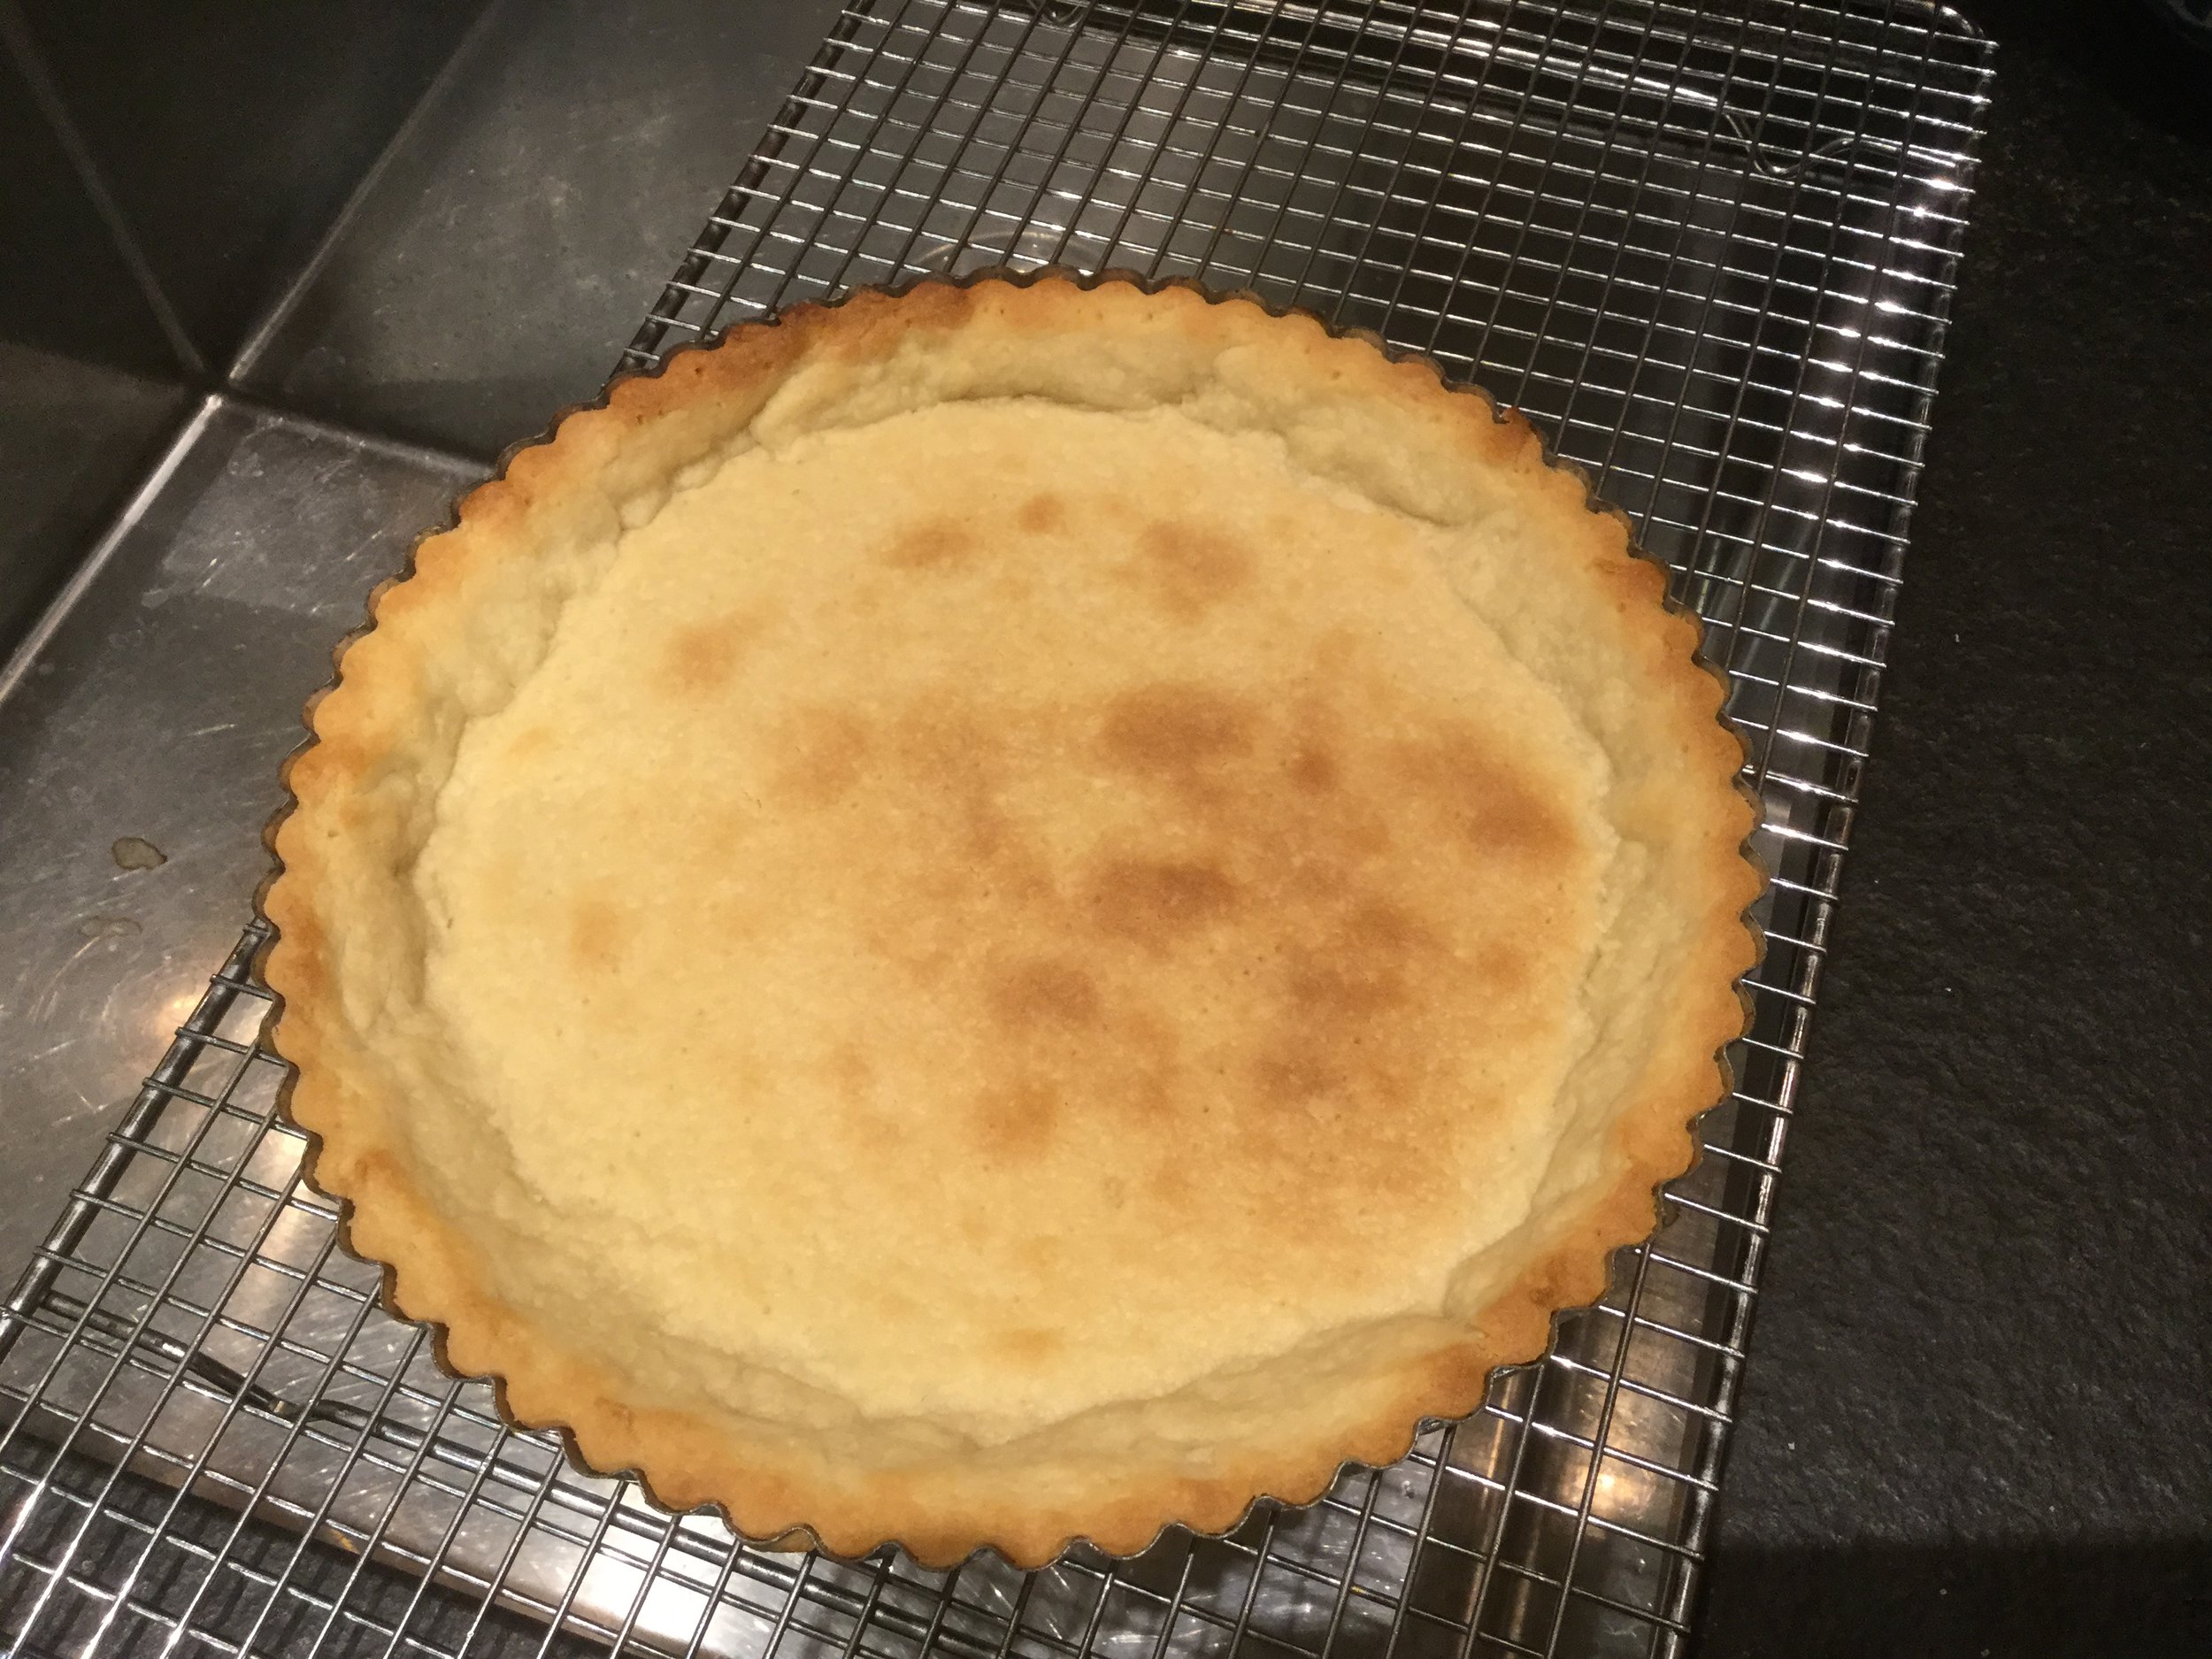
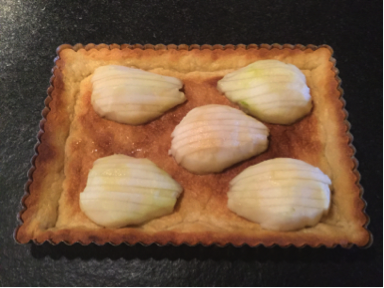
Start with an easy blind baked tart shell (see blog entry, “Baking Perfectly Blind”).  I used a 9” square tart tin this time, but you can use any shape you like.  The recipe for the tart dough given in “Baking Perfectly Blind” is enough for any tin 9” – 10”.

Here’s the filling recipe:

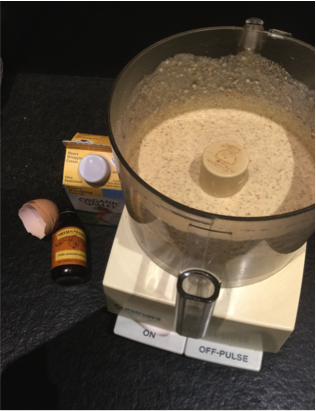
  • 1 cup whole raw almonds
  • ½ cup organic sugar
  • ½ tsp. Kosher salt
  • 1 whole egg
  • 1 cup heavy cream
  • 1 tsp. almond extract

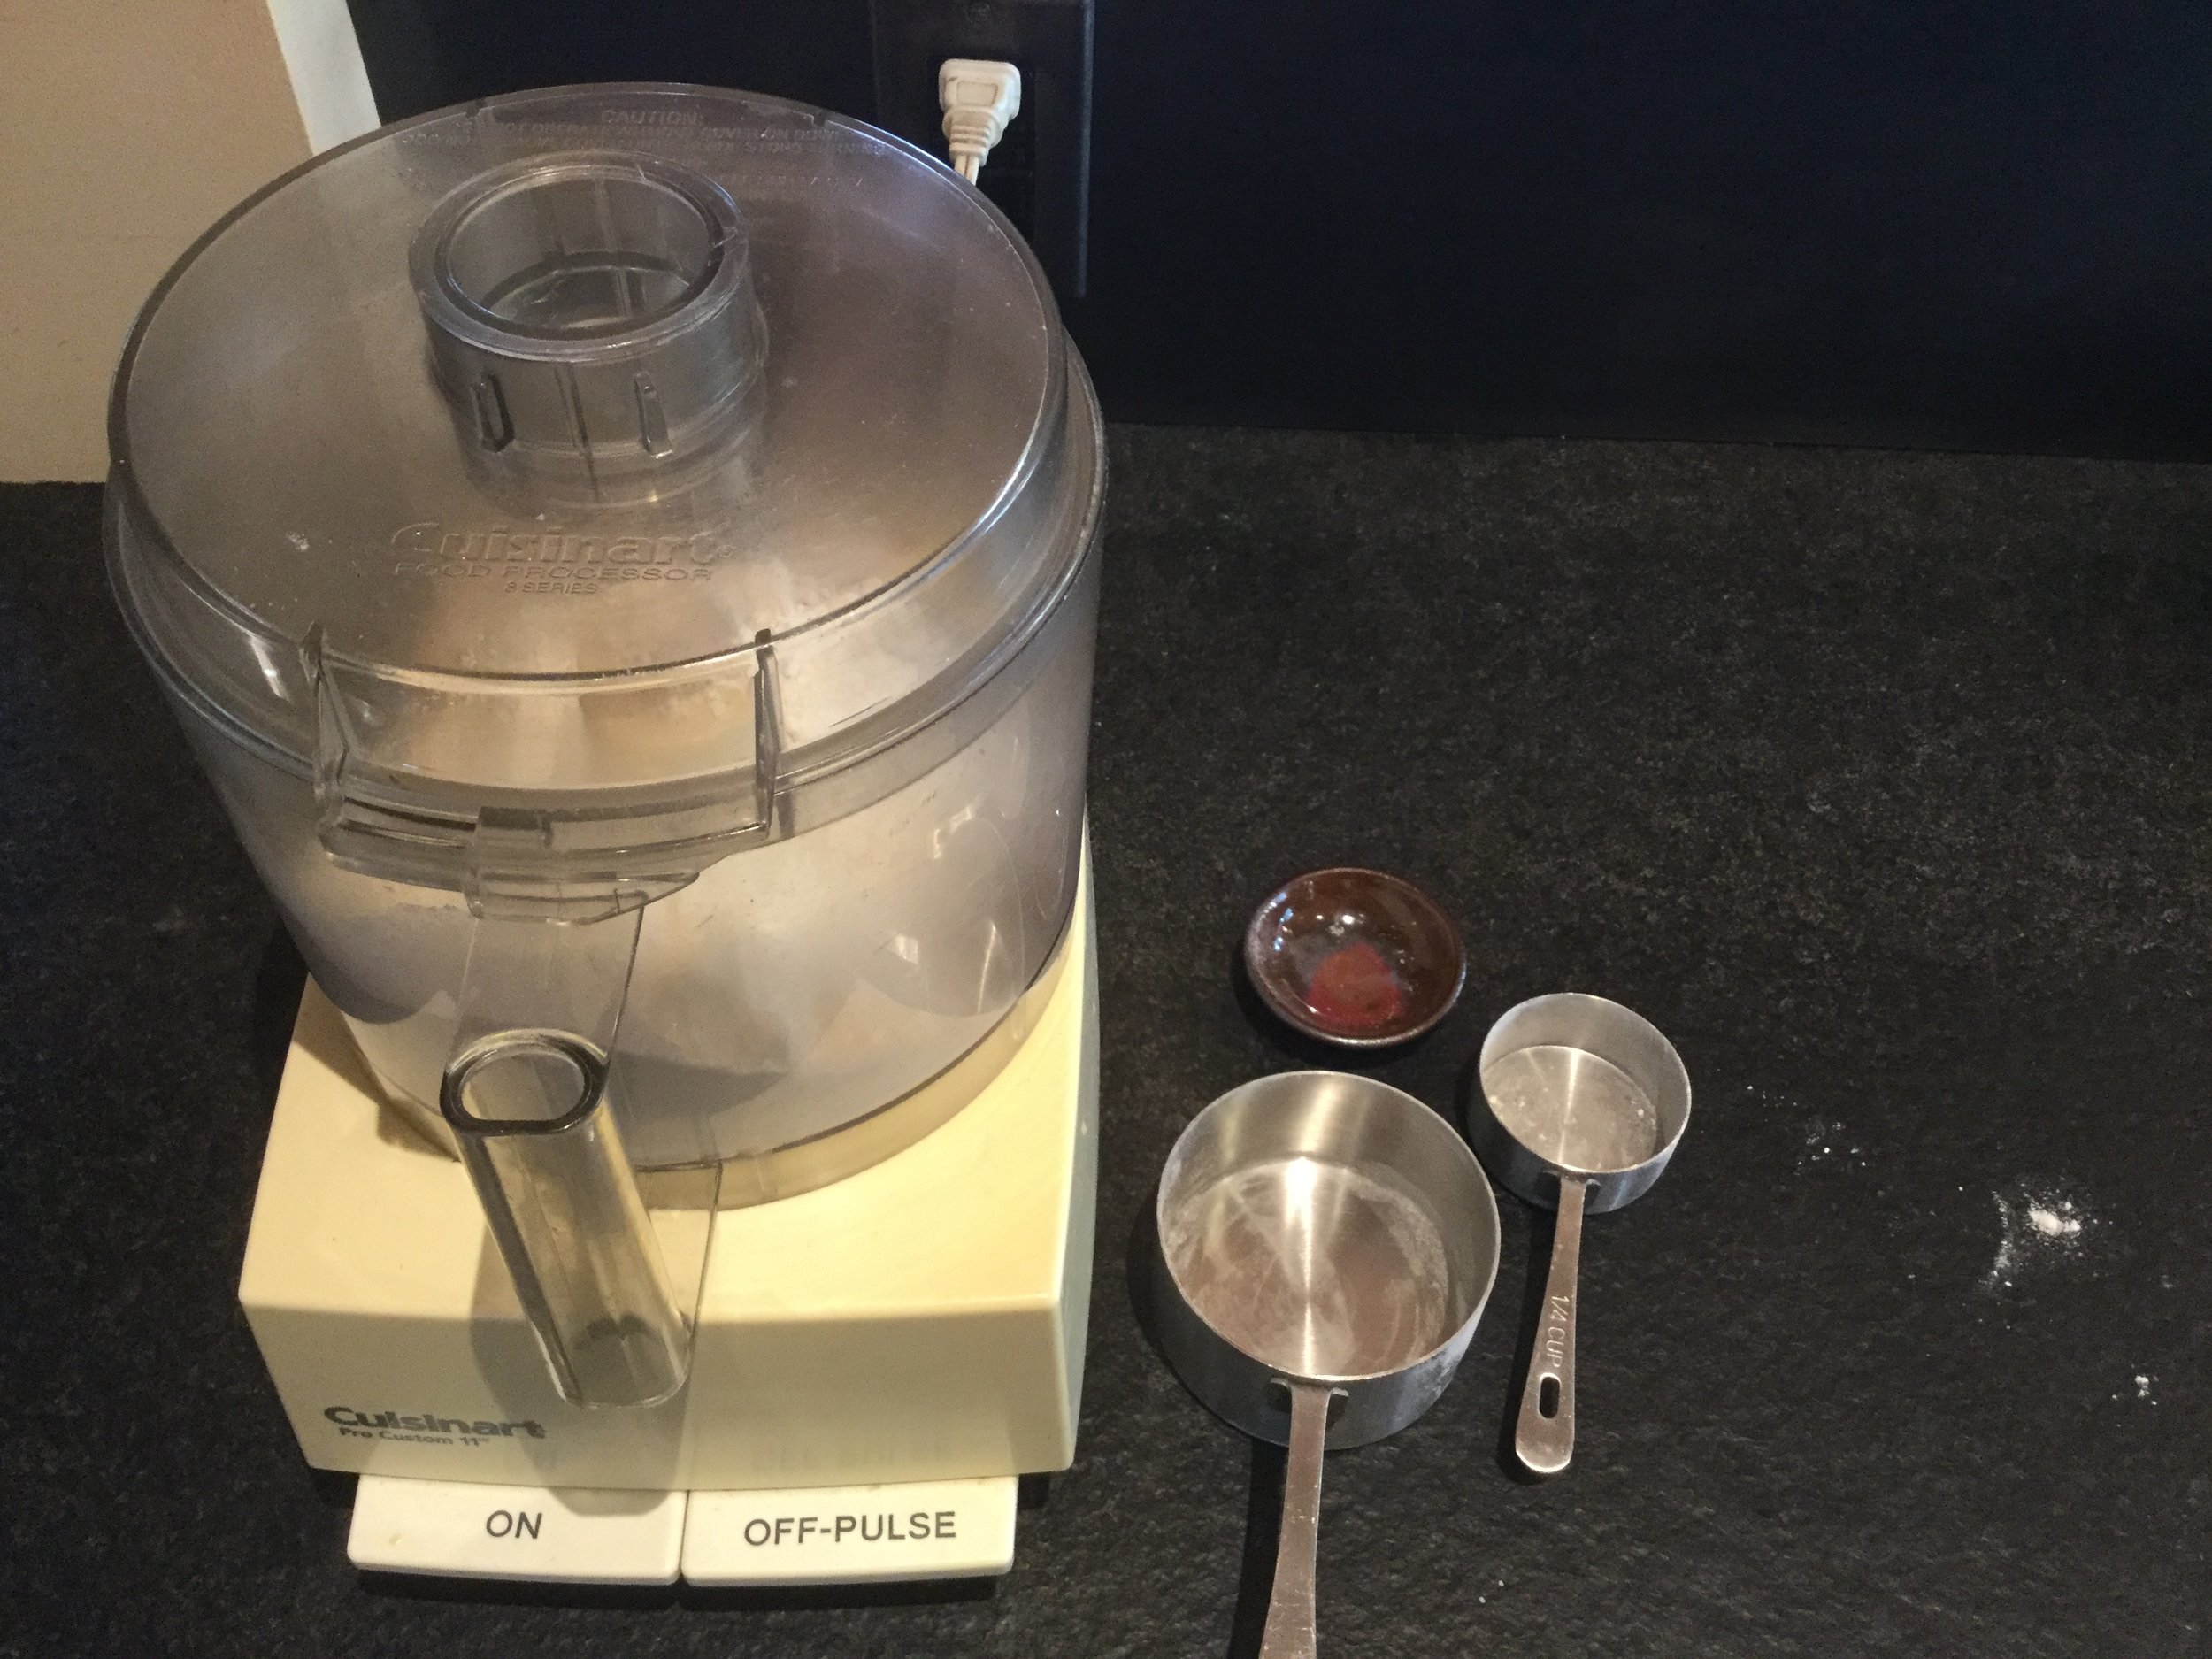
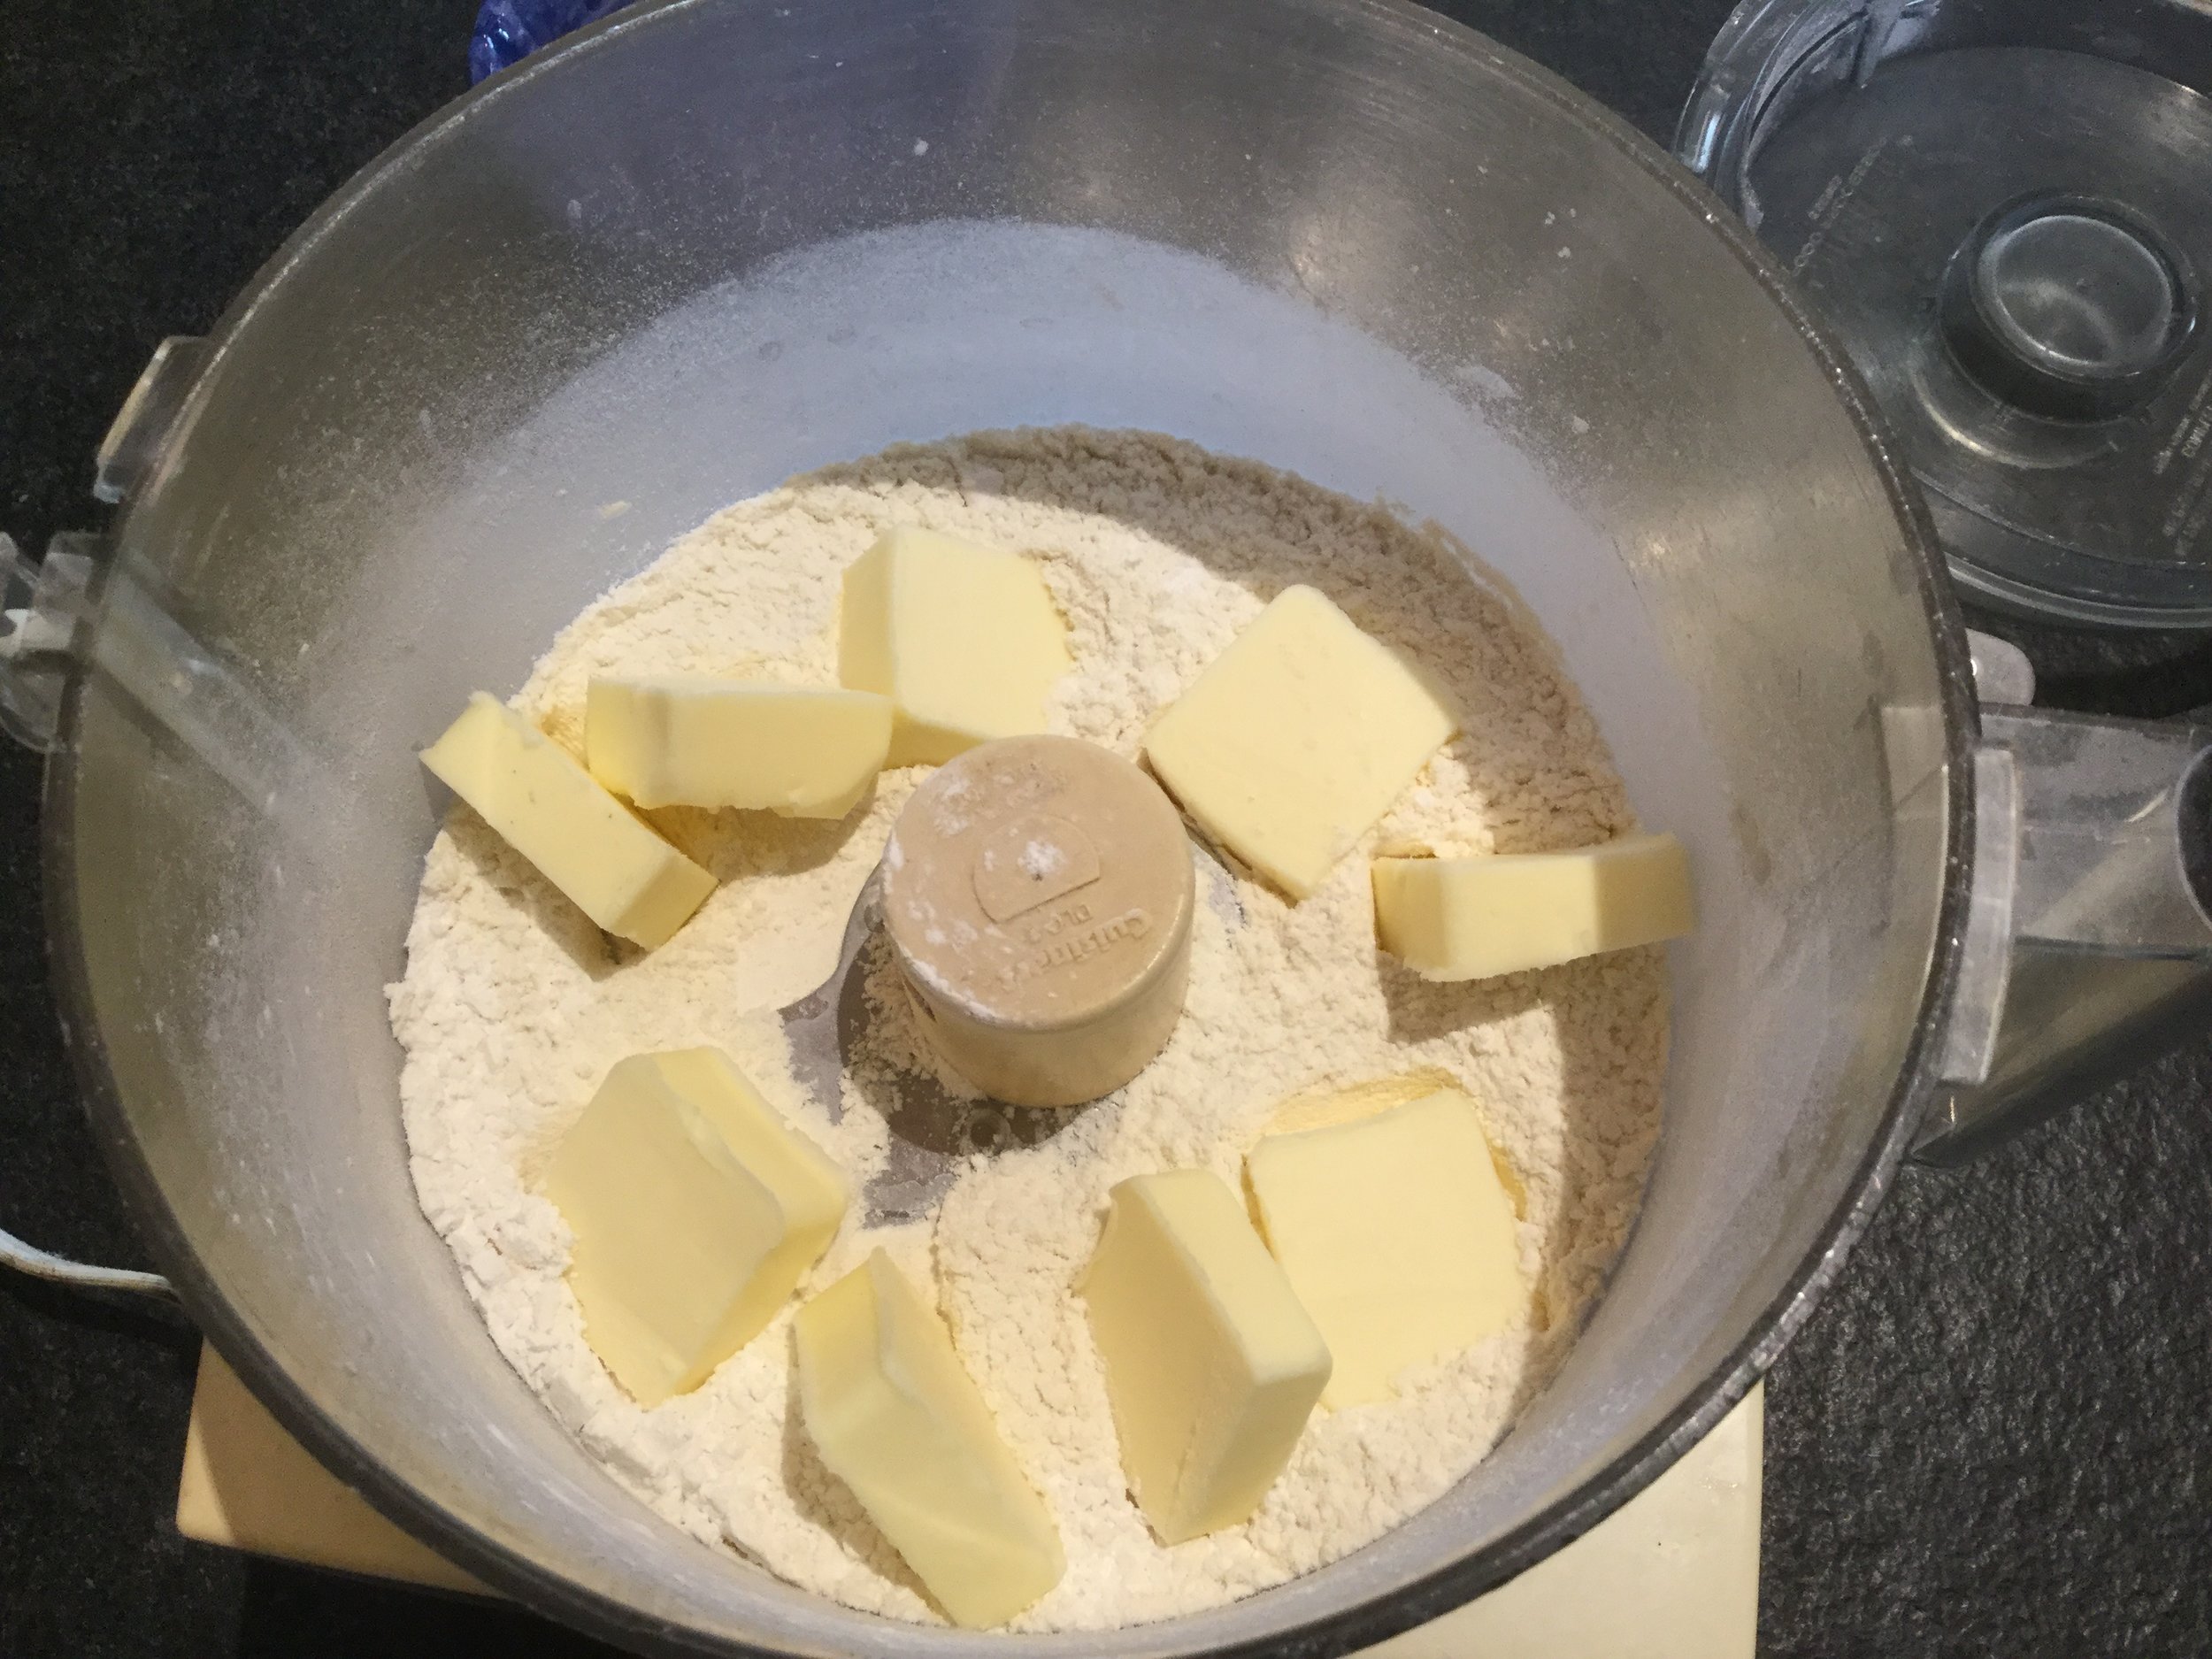
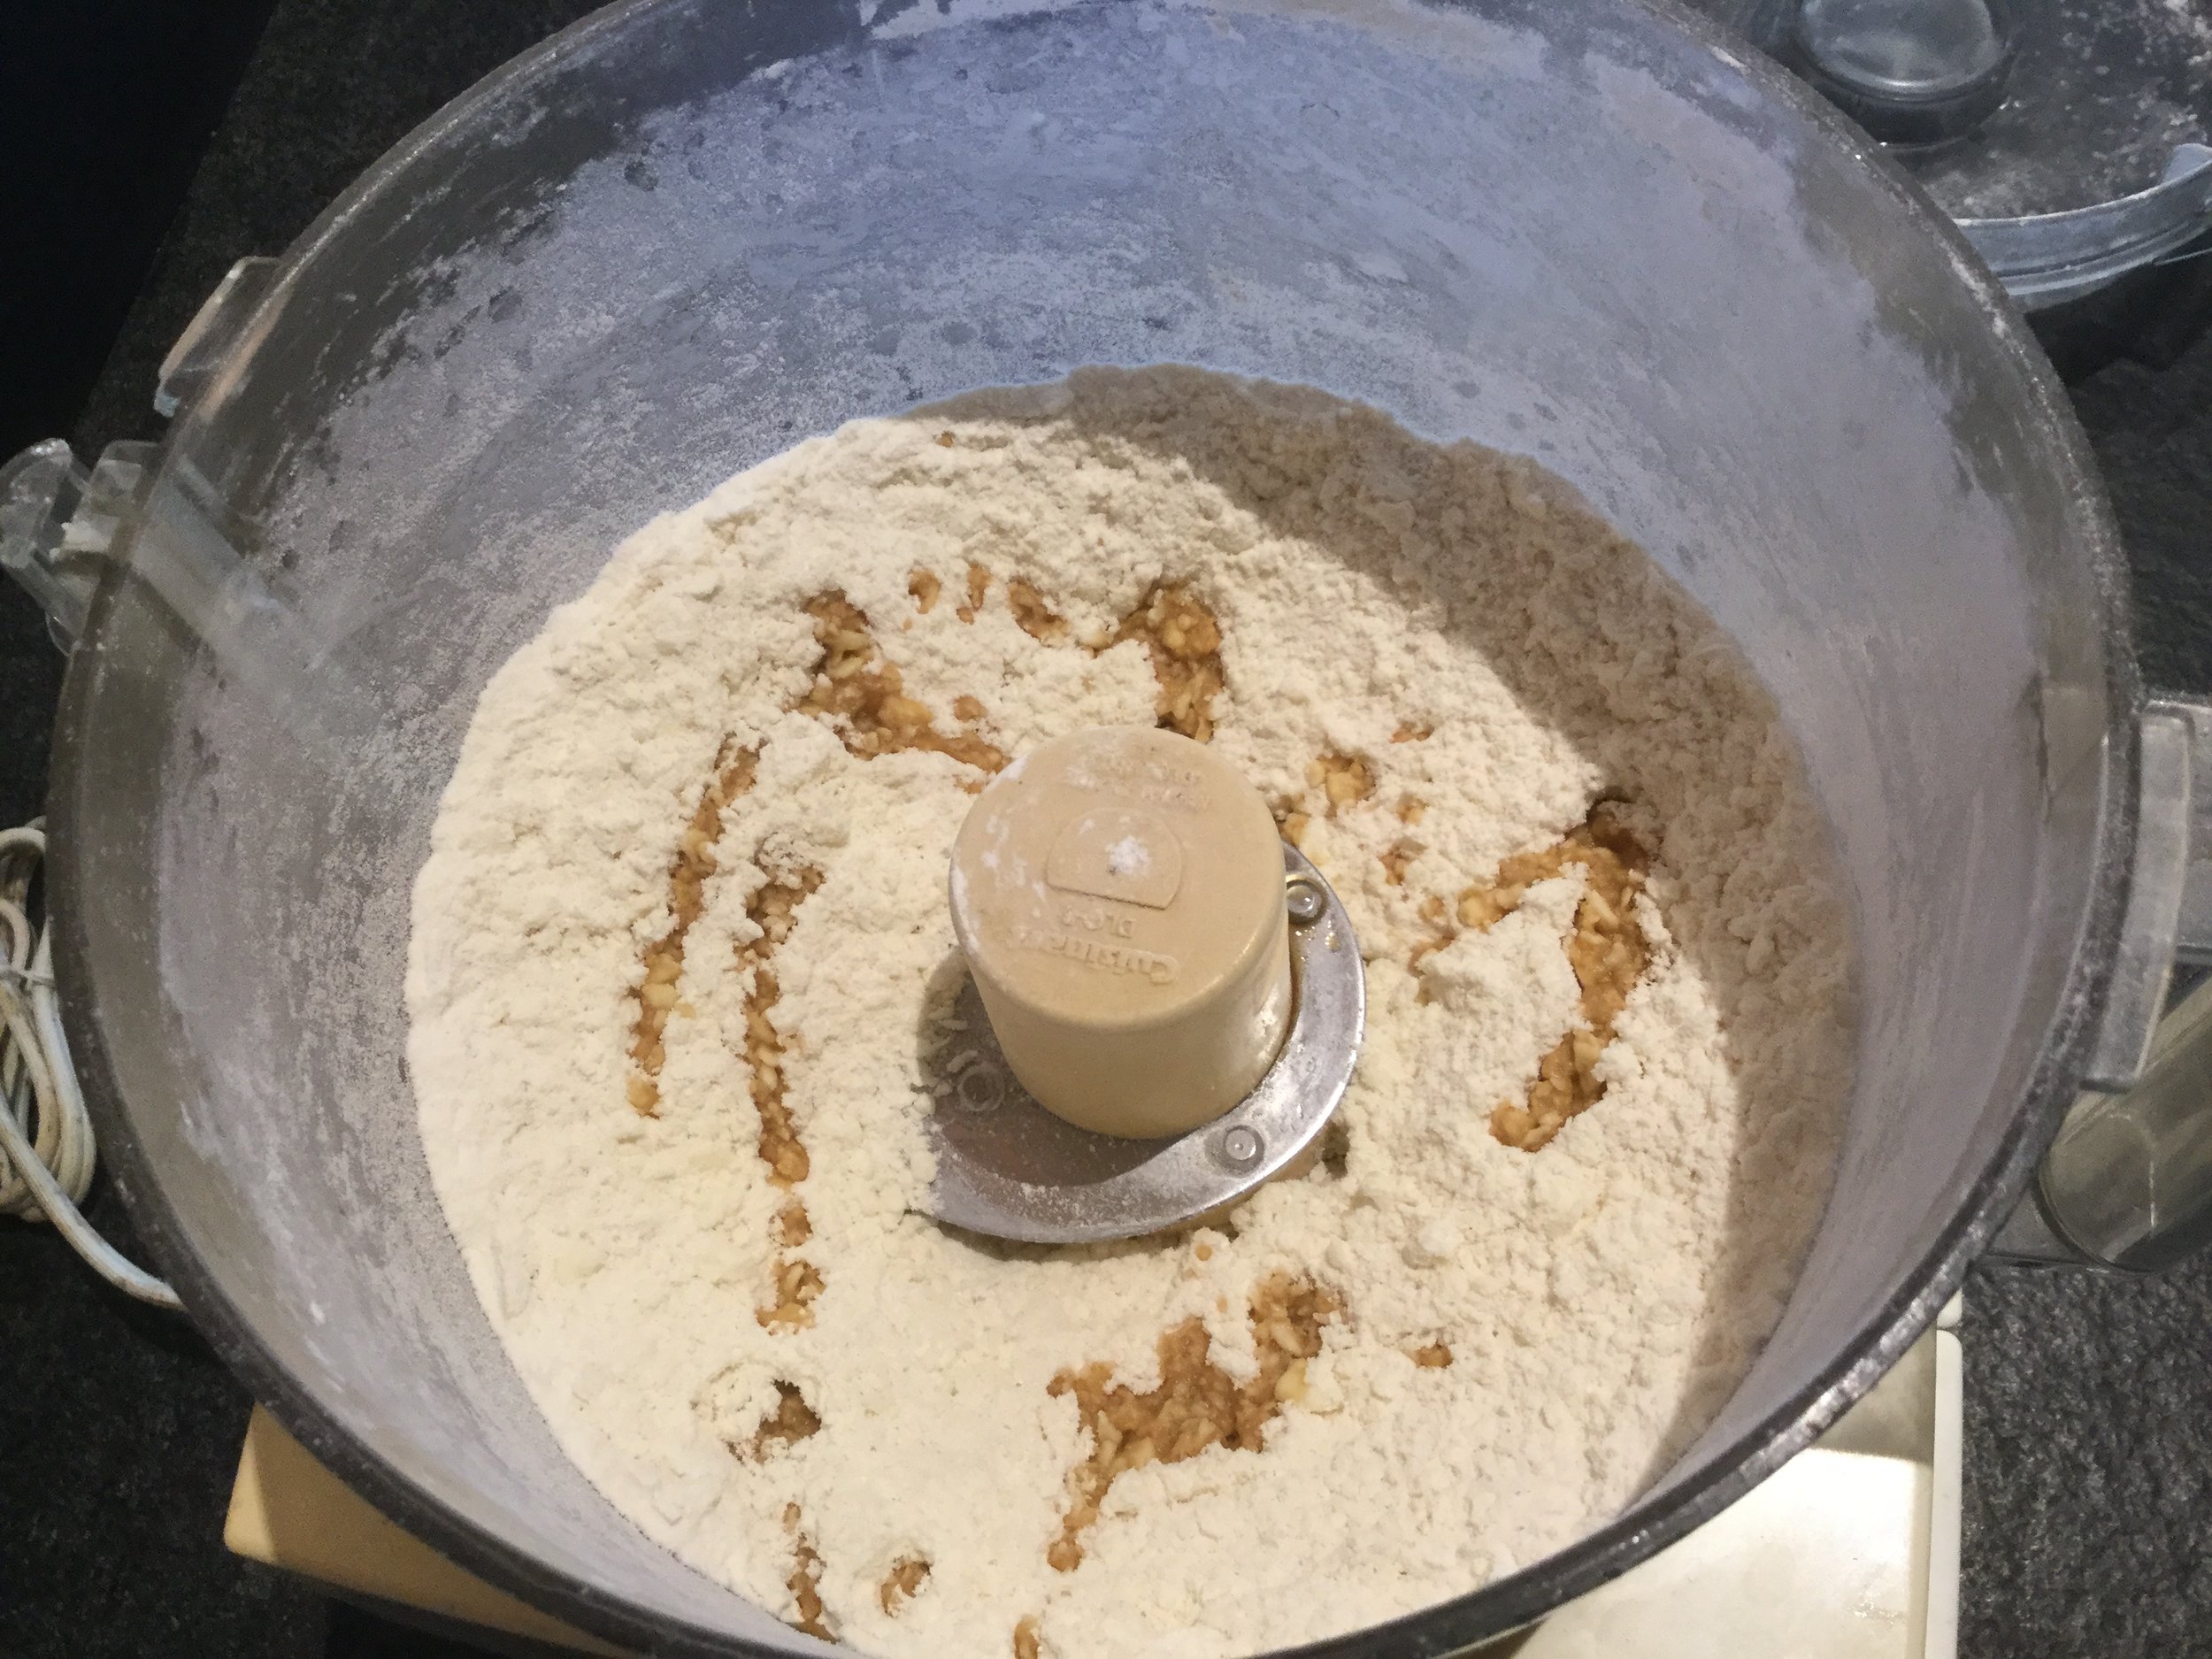
Make the filling:  Place almonds sugar and salt in the bowl of a food processor.  Pulse the ingredients to a fine meal.  Add the cream, the egg, and the almond extract and process briefly to mix thoroughly. 

Next halve, core, peel, and slice the pears and place them artistically on your blind baked shell – spreading them a little - like a fan, if you want to.  Finally, pour the filling around the pears and smooth it into spaces and corners. 

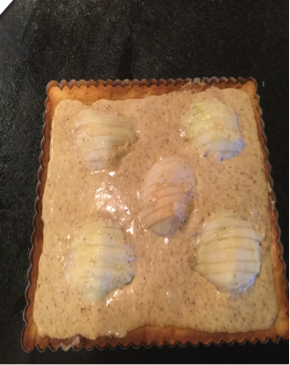
Bake at 350 for about 30 minutes, turning front to back about half way through.  Remove from the oven when the tart is nicely browned and smells heavenly.  Cool on a rack.
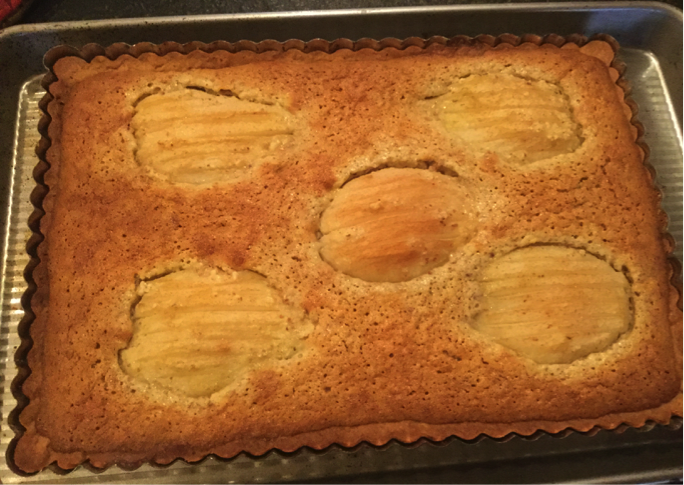
Viola!

This was one of the most popular desserts at our restaurant.  We served it with warm caramel sauce, Chantilly cream and toasted, sliced almonds.  You can imagine.  But really, plain is so, so good.  Either way, eaters win!

Baking Perfectly Blind

I like to bake pies and tarts - a lot.  Blind baking the crust is a technique I employ in all my tarts and in all pies that do not have a top crust.  The reason is simple:  Blind baking the crust (baking the crust before adding filling), yields a perfect balance of crisp and toasted crust to any filling;  custard, caramel, chocolate, fruit or frangipane.  When we started our restaurant many, many years ago I needed to bake several tarts every day and they all needed to be blind baked before filling.  I tried to produce a perfect crust by following the well-worn instructions always given in cookbooks - line the crust with parchment paper and beans or rice and bake in a 350° oven until firm, remove the parchment and beans or rice and continue to bake until lightly browned.  I was never satisfied with the results.  Depending on the temp of the dough and the kitchen, the results would often yield nothing better than slumped-shouldered dough patties. So after much anguish and thought, it occurred to me that the problem was one of temperature - which I could control!  I came up with a fool-proof and efficient method that produces perfect blind baked crusts every. single. time.  And this works with every tart and pie crust recipe I have tried - sweet or savory - in every size or shape of pan!

I have searched every cookbook I have read - hundreds - for this method, but to no avail. 

So here in my first blog post I give you my method for easily producing the best tart and pie crust every time.  No muss, no fuss, no panic, no anguish, no parchment paper, no beans, no rice!


Recipe for a 9" or 10" tart shell

  • 1 cup all-purpose flour
  • 1/4 cup confectioner's sugar
  • 1/2 cup cold butter, cut in 8 pieces
  • 1 tsp vanilla or flavoring of choice
  • 1/2 tsp Kosher salt

Place all dry ingredients in the bowl of a food processor and pulse to mix. Then add the butter to the flour mixture and pulse until the butter is the size of peas. Open the processor and drizzle the vanilla extract over the mixture. Pulse until the dough just comes together.  Gather into a ball, press into a disk, wrap and refrigerate until firm - at least 30 minutes.

Remove dough from the refrigerator and roll out on a lightly floured surface to fit the circumference of the tart pan - or alternatively, press the dough evenly into the pan by pulling chunks off the main disk, working quickly.  In either case, it is important to make the sides of the tart vertical as possible with neatly trimmed top edges and sides slightly thicker at the junction with the bottom of the tart.  You can use your fingers to smooth the surface and the top edge of the tart. Freeze tart in the pan until hard - at least one hour.  Meanwhile, thoroughly preheat oven to 450°.  

Remove the tart pan/crust from the freezer and dock (prick with a fork) all over, including the junction of the sides with the bottom, but be sure not to pierce the dough through to the pan. 

Immediately place the frozen tart shell onto a sheet pan and into the preheated oven. Bake for exactly 12 minutes.  Remove from the oven and, depending on the kind of filling you've chosen, let the tart shell cool slightly or completely before filling.


The tart dough recipe I give here is endlessly useful and easily altered.  For savory shells, leave out all but one teaspoon of sugar and add 2-3 tablespoons of water when you would have added the vanilla. Try adding other flavors like grated cheese (reduce butter 1 tablespoon per ounce of cheese), herbs, chile powder, mustard, garlic powder, salt, pepper, etc.  Try adding a little cornmeal or ground nuts for crunch (reduce flour by 1 tablespoon per tablespoon of cornmeal or nuts). Try your favorite pie crust recipe, always using a metal pan.  Play around with it and let me know what you think. 

Coming soon ... we'll talk about filling possibilities, sweet and savory!